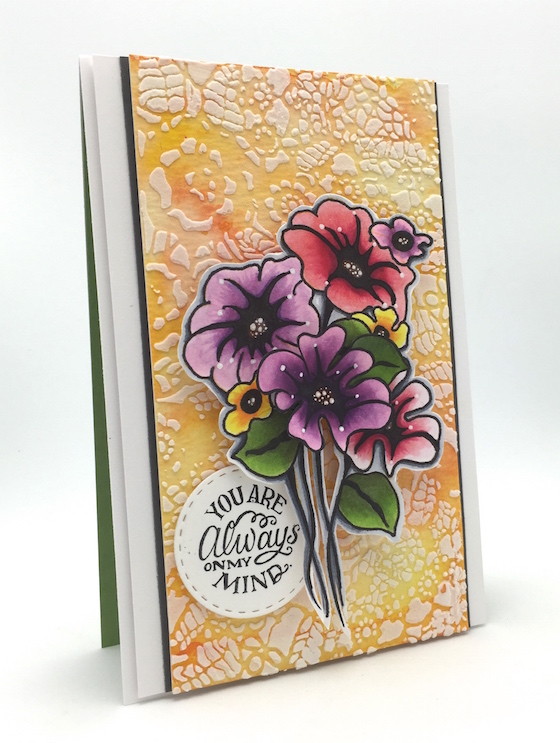
Hello Friends, How are you? Feeling itchy for spring? Hopefully my flower card will take you back to the warm days of summer. Today I want to share an easy way to avoid masking and I think it’s faster too…a bonus!
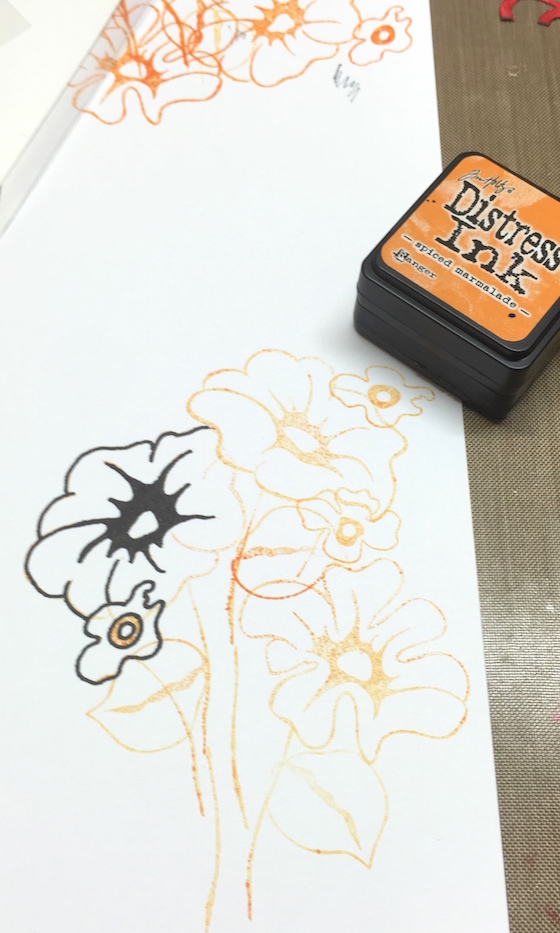
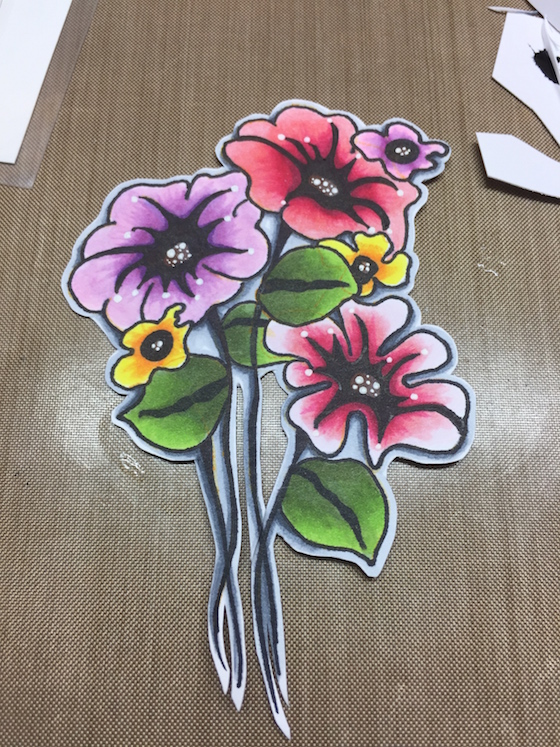
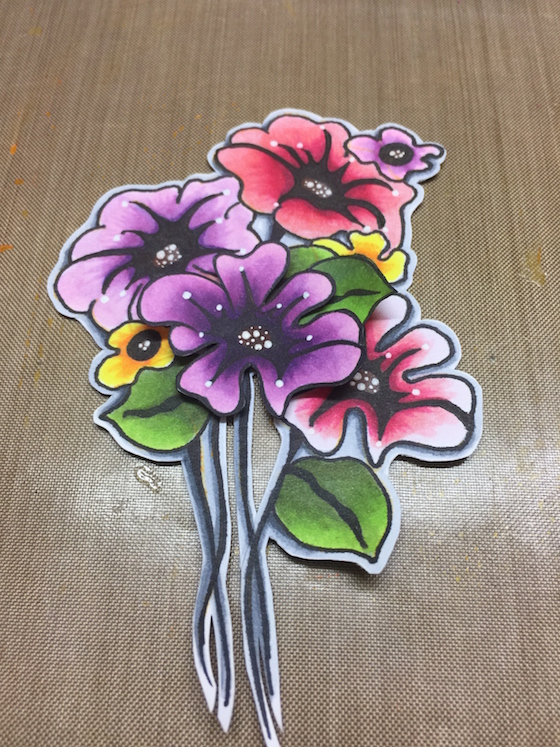
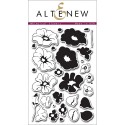
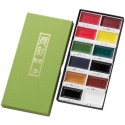
If you use second generation stamping (stamping off to the side first then stamping in the desired area so the stamping is lighter) in a light color you can avoid using a mask (I used distress ink) . Don’t worry about stamping on top of each other. Once you are finished stamping outline the flowers and leaves with a fine tip sharpie. You can decide if you want the leaves in front of the flower or behind depending on the lines you trace. After the image is outlined… color with markers. I used Copics. The flower stamp is called, “Whimsical Flowers”

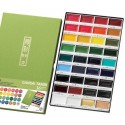
The watercolor background gave my card so much texture….and the Tim Holtz paper is so white and bright!
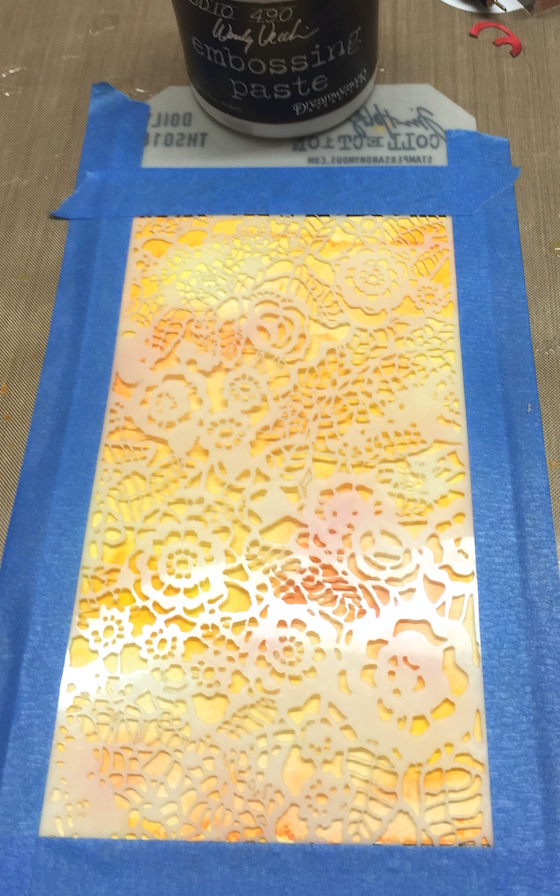
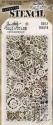
Lots of texture!! Once your paper is dry add some painters tape to secure your stencil. Love this “Doily” stencil from Tim Holtz.
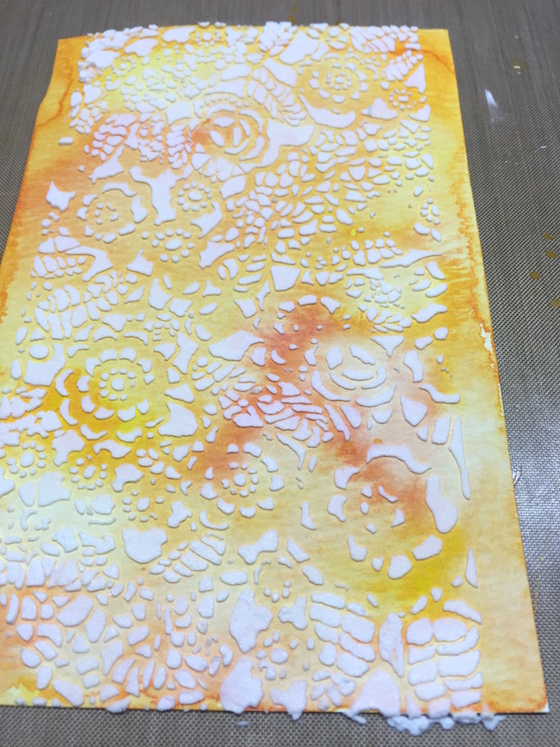
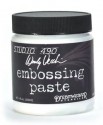
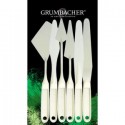
The texture of this white embossing paste is worth every penny. If you have the right tool the jar will last you a long time. The look and feel of the background is luscious in person.
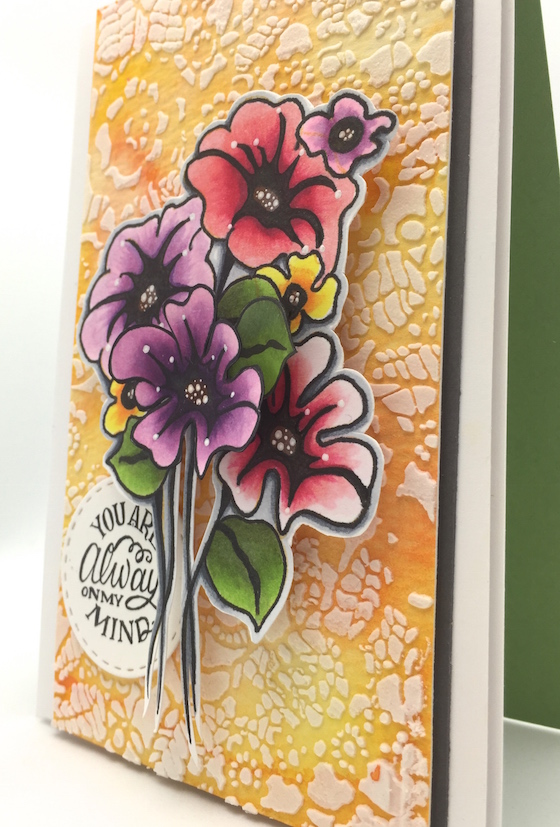
The sentiment is from Power Poppy in case you were wondering. That’s it for today. I hope you find my masking technique helpful. Have a great weekend. Hugs, Kathy
CARD SUPPLIES click on any thumbnail below:


 Thanksgiving “Thank You” for YOU
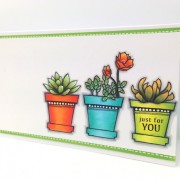 sweet succulents
 2011 Spring Catalog


Wow! That is such a brilliant idea, Kathy! And your card is AMAZING! Gorgeous texture in the background and your flowers are stunning! ♥
Your card is gorgeous. Love the colors and those flowers.
Awesome alternative to masking! TFS
Just saw this on instagram and had to take a quick look before calling it a night. This card is gorgeous but the background is exquisite. Thanks for the tutorial. Your work is inspirational!
beautiful card and thanks for the tutorial on a different way to mask. You make it look easy!!
Wow~ the color and texture in this card is so rich! Thanks for the great tip about masking. I never would have thought to do that and your cluster of flowers looks fabulous! This card is just stunning!
I love this idea, Kathy, and can’t wait to try it! Gorgeous results, as always!
STUNNING!! I have been using Tim’s watercolor paper a lot lately! I have gone through 2 packages of it in the last week! LOL They are delightful to work with and water coloring is so much fun! TFS!
Awesome technique. Love the background with the embossing paste over that gorgeous doily stencil!
What a great technique! Thanks for sharing. I’ll be trying this next time I’m in my craft corner 🙂
There seems to be no end to the amazing uses for Distress Ink!
Great tip! Love that embossing paste and am guilty of not using it more! Thanks for the inspiration <3
Gorgeous! I just got some embossing paste, better go use it 🙂
Awesome card as usual Kathy! Love all the details in the yummy background. I had a silly question. I am guessing that sharpie pens are compatible with Copics and won’t ruin them? Thanks for sharing!! Big hugs!!
Another great card! Love all the bright colors!
Oh Kathy, your card is so pretty. I need to get some stencils and embossing paste!
I did some texture paste with metal and Tim’s stencils, still have to do the coloring part, want to ink the texture paste. I love the idea of just using lighter ink color and not needing a mask, using a dark pen to outline design. Great idea!
gorgeous!
Brilliant card and technique. I’m also wondering (as Kimberly asked) if the copics will pick up the black of the sharpie. I always get inspiration from you. Thanks bunches.
Sooo pretty!!
This card is strikingly beautiful! I haven’t even fully read the masking instructions yet, I just couldn’t quit looking at the flowers! I am going to use some of “me” time this weekend and give this a try. I wish I already had the flower stamp but I’m sure I can find something to use instead. Thanks so so much!
Love how you did this!
This is a palm to head slapping moment. Why, oh why, didn’t I think of that. Well, I guess that’s why you’re the brilliant Kathy R. In any case, the card is a WOW!
Great idea for avoiding masking (that is, if you know what a ‘sharpie’ is, which I don’t; I am guessing it’s an American type of marker), and I love that background!
have a wonderful weekend, Kathy!
Marianne x
Wow Kathy, this is just gorgeous! I love the colors!
You never cease to amaze! So, so lovely.
beautiful … I am going to try this tomorrow… thanks for sharing…
This is totally gorgeous! LOVE the colors and I adore the techniques! Totally pinned! HUGS! 🙂 Mynn xx
How pretty! Love the texture from the embossing paste – it’s subtle but it adds a lot. And the colors are gorgeous!. Thanks for sharing the masking technique.
Beautiful card, thanks for the how to!
It is beautiful!!! I love the bright colors of the flowers and the beautiful embossed background 🙂
What a fabulous card! Beautiful colors.