Hello Friends, Did you see the sneak peek from Penny Black?? If you are a club member you did. What do you think?? I LOVE the images and can’t wait to ink those babies up. If you don’t want to miss Penny Black’s new sneak peeks before they “go live” sign up here.
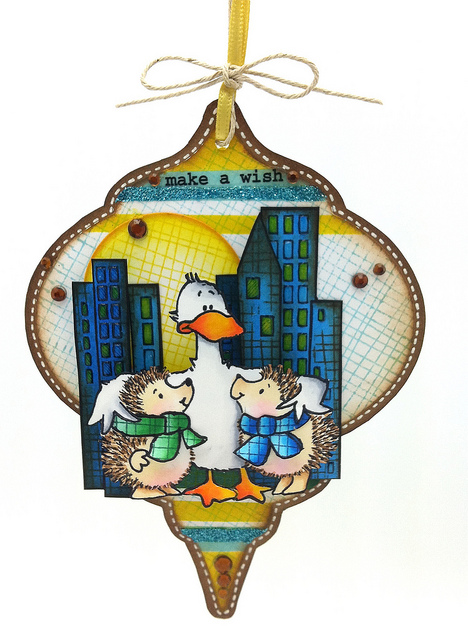
You will find this ornament on the Penny Black blog this week. This week we are featuring “”Fanciful Critters”….. so much fun 🙂
I love this Spellbinder’s ornament & the new one is my wish list. If you want a peak at it you can see the new one here & it’s in stock right now. Last year I made this and this with the ornament die.
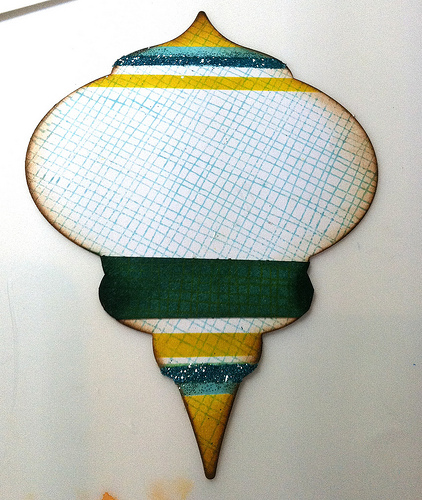
This step was super easy…. just stamped the background first with tumbled glass and this stamp from PB. Then I masked some stripes on the ornament with wild honey and tumbled glass. I put two rows of Martha Stewart glitter on top of the distressing.
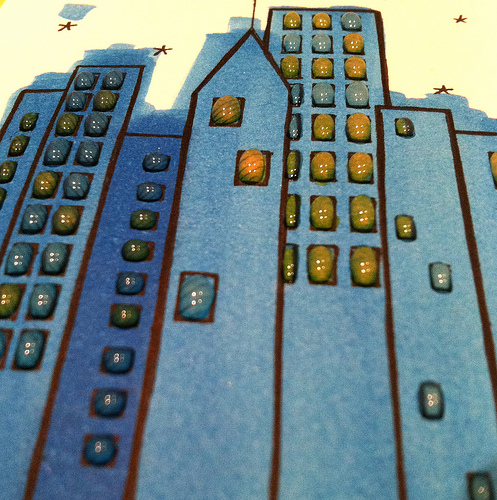
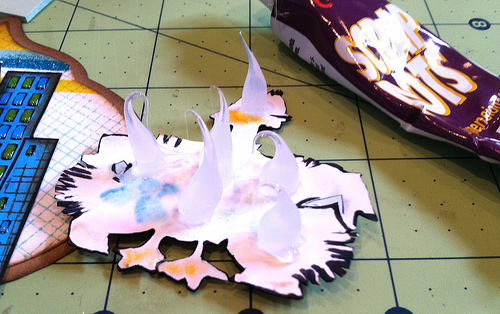
I use this “Cityscape” stamp all the time. I drew lines on the windows, colored most yellow (for lights “ON”) then added blobs of Glossy Accents. Once it was dry I cut them apart and layered them up.
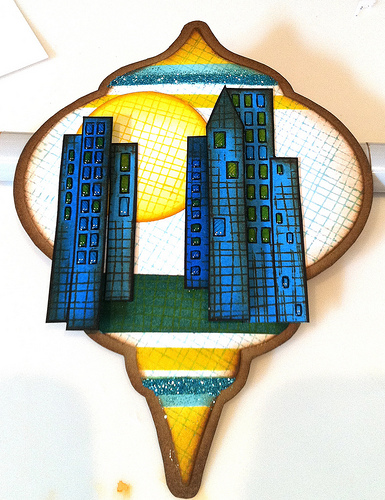
Ah…. I also stamped on top of the buildings with some distress ink after the glossy accents was dry.
Before I went to bed I colored the beak and feet & added Glossy Accents to them .
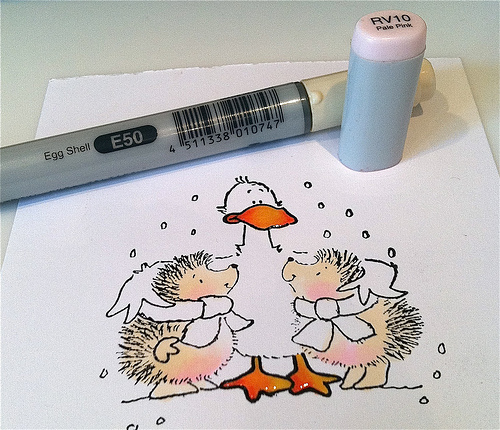
On the hedgehogs I used E50. Try to leave a white space on their bellies. Add RV10 to cheeks and low belly.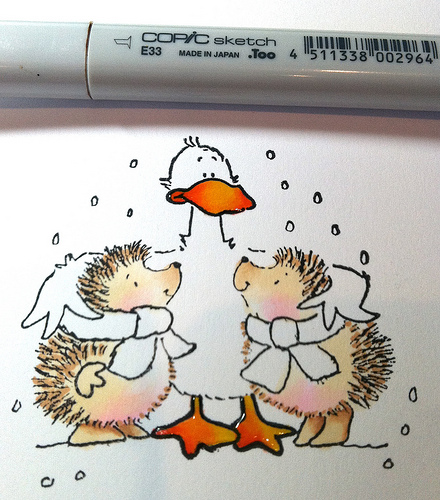
Flick some E33 on to the hairs all around the image. Add some shading to the feet and nose.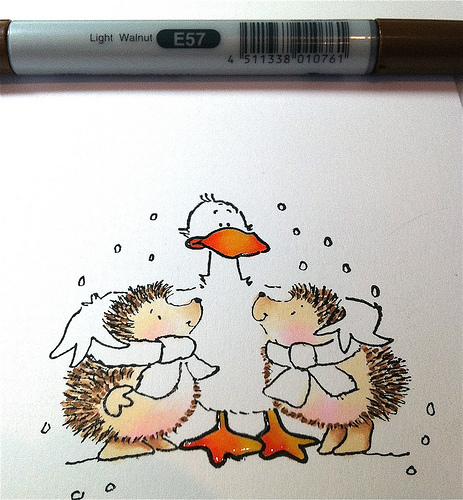
Now flick in a darker brown E57 on the hairs.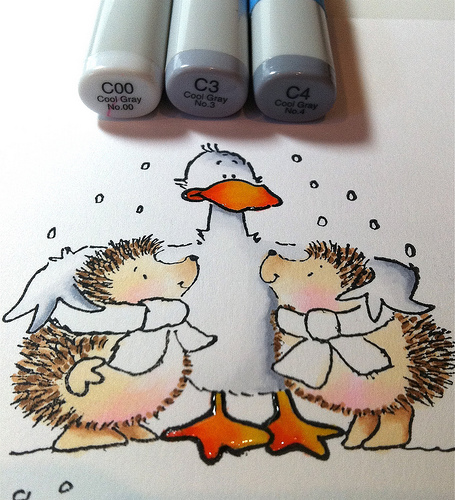
Add some shading on the duck with greys. You can really see the glossy accents in this photo.
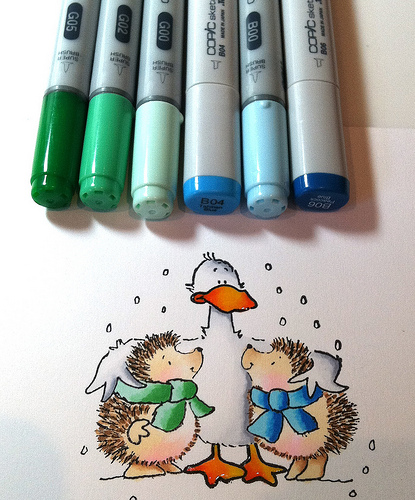
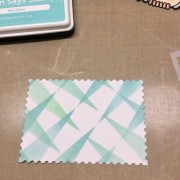
These are the blues & greens I used on the scarfs. Any colors will do 🙂
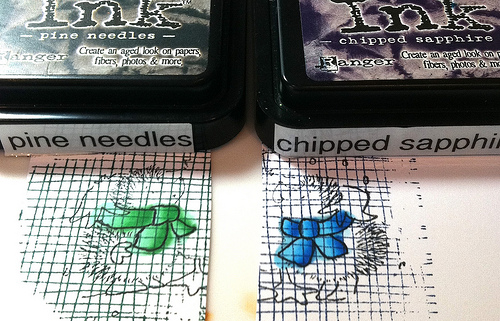
I stamped two extra scarves and stamped with the same background as I used on the buildings. I didn’t worry to much about the shading since I would be stamping on the scarves.
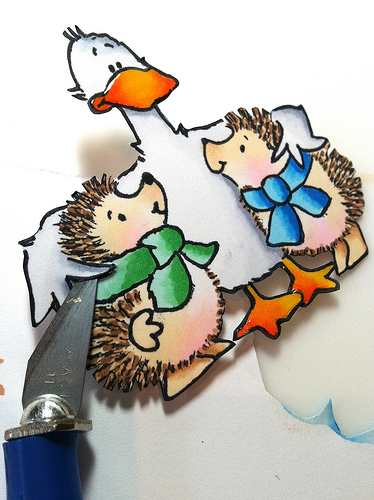
I use a blade to cut the feathers to tuck the scarf in.
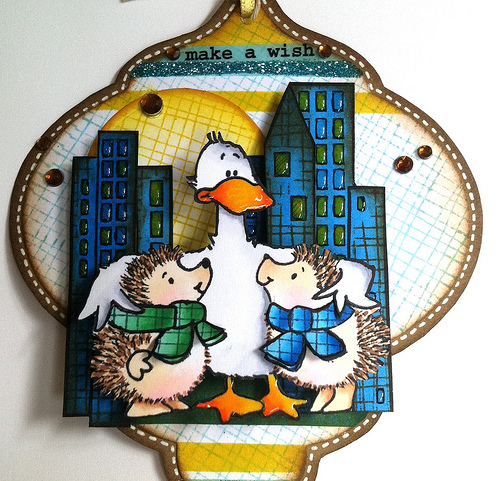
Here is a close up. This was so much fun to make. I think in my next stamp class we will be making some ornaments. Naturally I was finished and didn’t know where to put a sentiment. Lucky for me …. SRM stickers saved the day again. You can add it so easily after your project is finished. Stamping when your project is finished it’s so much more difficult. Yes, I am NOT a planner.
Since the buildings are so staggered Scrap Dots are a must and a huge time saver. As always I am so grateful that you pop in. Have a happy day! Hugs, Kathy
Supplies:
|
|
|
|
|
|
|
|
|
|
|
|
|
|
|
|
|
|
|
|
|
|
 christmas fairy altered — new blog update
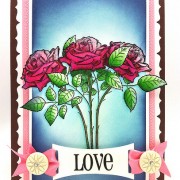 From simple to more detailed with Penny Black’s new Valentines stamps
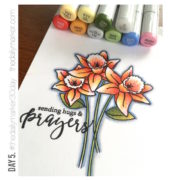 Day 5. Quick Post Today


Kathy, this is just amazing!
Another stunner Kathy. Your house will be looking amazing with all those Ornaments hanging during Christmas time:) TFS the tutorial too.
what a stunner Kathy. I can’t believe the detail you do… it certainly makes a beautiful card.
Kathy, The ornament is darling! It’s the first time I have ever seen the Scappy dots. Will definetely have to give them a try. TFS your tutorial. As always, very helpful.
thank you for sharing this gorgeous project! i am so in love with the vibrant colour 🙂
wonderful!
thank you for helping me think outside of the box!
Sandra ltb
Thank you for sharing your tutorial – it’s a stunning card.
Hugs, Anne P
Wow thats a great tutorial and your card is fabulous too:) Sandra H
Utterly fabulous!!!! I love every millimeter of this card!!! It’s amazing how much work you put into it – it totally paid off!!!
you always do the BEST tutorials and of course your amazing artwork is just breathtaking!
Hello!
This is one of the best projects I have seen in a long time! What a wonderful creation! The colors are beautiful!
Wishing you a happy day!
Barbara Diane
LOVE this FREN…..It is just Awesome…Make me Smile too!! Big Hugs Kathy Rac…..xoxoxo!
Oh, so darn creative, clever and amazing! Just LOVE this fantastic card, Kathy! Wow! Hugs to you! 🙂
All of the attention to detail is what makes your creations so unique and fabulous, Kathy! Thank you for the step by step – this ornament is just amazing! 🙂
OH my, amazing details, Kathy! Gorgeous ornament :o)
I just love all your intricate details on this card, Kathy! Thanks so much for the step by step instruction too, it’s wonderful to see the process.
blessings!
Wow, Kathy I loved your post today with all the detail of how you made this cute, cute ornament! Thanks for sharing your awesome creativity with us!
OMG Kathy! This is really amazing! Love all the creativity going on here!
Adorable ornament. I love that cute little image and I love the glossy accents you added!
I didn’t think you’d improve on the soup cans project with your attention to detail & helpfulness in sharing the steps but this rivals it & has to be equal first for me. I cannot get over the detail of the colouring & stamping on the image of the duck & hedgehogs alone & you first made me view the cityscape stamp with different eyes some time ago – I shall be on the lookout for this when I go to the Cardiff Craft show next week. Thank you too for sharing the steps in Copics colouring.
Paula (PEP)
Wonderful card! I love all that extra detail you added in with the background stamp and the cutting the wings to fit around the scarves!
So much wonderful info….thanks so much for sharing. That image is too cute.
AMAZING. Thanks for sharing the step by step on this…. just amazing. Did I mention that already??? Ha ha…. hugs to you, Dee
Not only a cute ornament, but it will be a treasured keepsake!
ohhh it’s so cute ! I love it