 |
|
Hello Friends, Sorry that it’s been so long. I hope this post finds you healthy, happy and creating 🙂
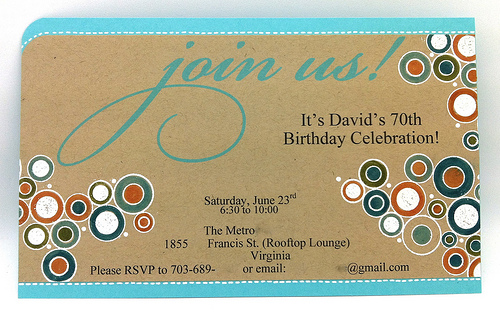
My step dad is turning 70 and I wanted to create invitations to mark this special Birthday. My mom and step dad denied my request but, I’m happy about that. I was able to transform the store bought invitations by trimming, stamping, coloring and adding another layer.
What they did was walk on over to the Paper Source, purchased some kraft invitations that say “join us!” and printed them on their printer. So proud of them.
|
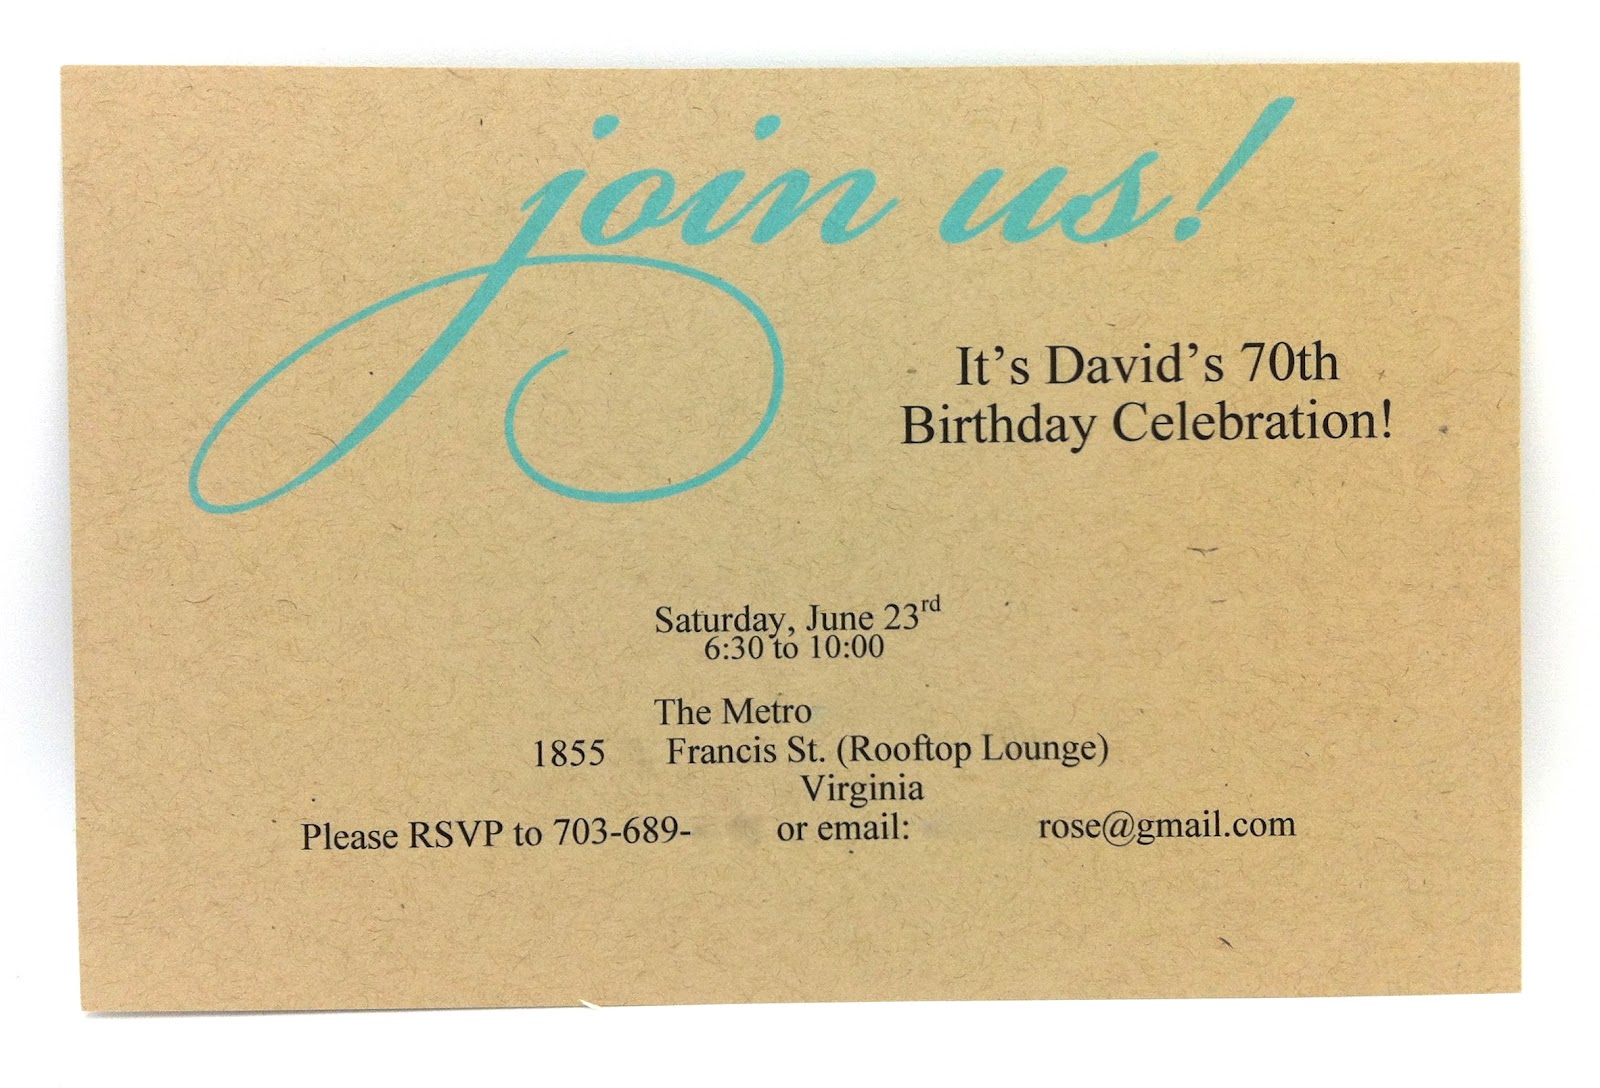 |
| This is how it looked before I got to add my stamping on the invitations. (I erased some of the information to protect their privacy.) |
 |
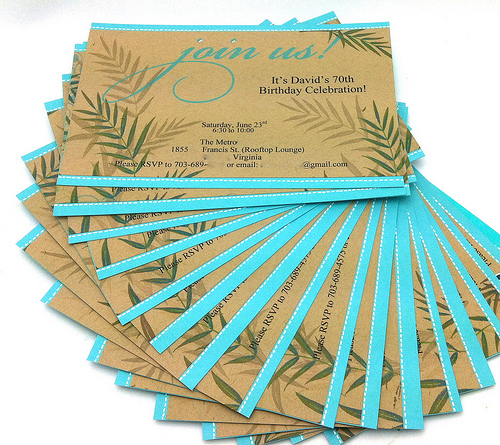
| This was my final and there are a few more below that I “submitted” to my mom and step dad. My mom said, “Stop creating and pick one” in the nicest way possible. |
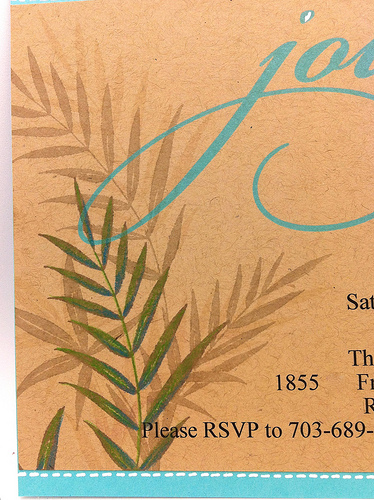 |
| After stamping several times with this stamp (from Penny Black called “Breezy”) and different shades of inks I colored on top of the stamping with a turquoise & green colored pencil. I really outlined and shaded with the pencils…pretty quick and easy. |
 |
| This is the first one I did and parts of me love this the most but, it’s not the right feel for the party. This is the stamp and now I understand why some stamps are better in a smaller size. I love what these circles did for the invitation. (this one was embossed with white and colored with distress markers) splashed with Dylusions ink spray. |
 |
| After embossing this one in white I felt it was to bight but, found it was faster to color when it was embossed so ultimately I decided against the circles after stamping the one below. |
 |
| This one was stamped with turquoise which I really liked but, my ink pad was dry and it took to long to color when it’s not embossed. Don’t get me wrong I like to work on projects like this stuff but, I had a quick turnaround time. Off to spend time with my Birthday boy husband. Enjoy your week and thanks for stopping by. Hugs, Kathy |
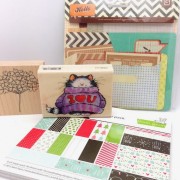
INVITATION SUPPLIES:
|
|
 giveaway
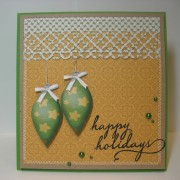 New Release!!
 Just to explain


Love what you did with these! I think they were a great base to start from and you have a great set of additions! Happy birthday to the hubby!
All your transformations are just terrific. But I must say my favourite is the one you have gone with.
Wow each different design is a masterpiece, I loved them all, I can see how some would be a labour of love with all the exquisite colouring! Happy Birthday to Mitch too!
amazing Kathy. You take the mundane and make it spectacular! Superb. Happy Birthday to you DH too.
My goodness Kathy – & this midst moving house & having your son home plus a birthday husband. I think you should wear a SUPERWOMAN costume!
I love the one you settled on & I can see that was more appropriate even though the other samples look great fun. When I start something like this I too keep thinking “how about if I just……..’ & then try it only to find I’ve another idea……… At present I’ve a list of to do before I get to having a play with you know which I mean butterfly!
Often thinking of you
Much love
Paula (PEP)
Oh they turned out so pretty!!!! Fabulous as always Kathy 🙂
This was a perfect idea. I love how you showed the process with using the different stamps along with the finished product.
What a transformation – these are beautiful!
Both invitations look very classy; you have definitely taken them up several notches! The one you didn’t choose has inspired me; I have looked at that stamp several times and not know what to do with it. The way you used it looks superb.
Fabulous idea to spark up some plain invitations. The designs are all outstanding!
Amazing what you did with these. Love seeing your design process too… thanks for sharing. Hope your Step Dad has a wonderful birthday – he has super duper invites!
Happy Birthday to your hubby – enjoy.
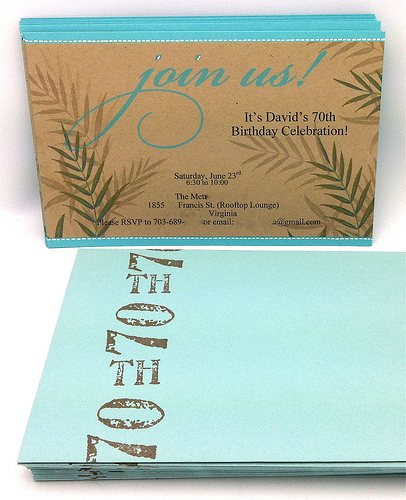
Great idea. Saves some time, but they still look handcrafted. I like all the designs, but particularly like the way you did 70th. I often buy packaged card sets at thrift shops and rummage sales to use as a base for a homemade card. Then I have the perfect envelope to fit the card. Always hope my glue holds out so nobody reads what I’ve hidden underneath.
Mass printed but feel handmade when you add some stamping and love to it! See how it transform! Totally different outcome!