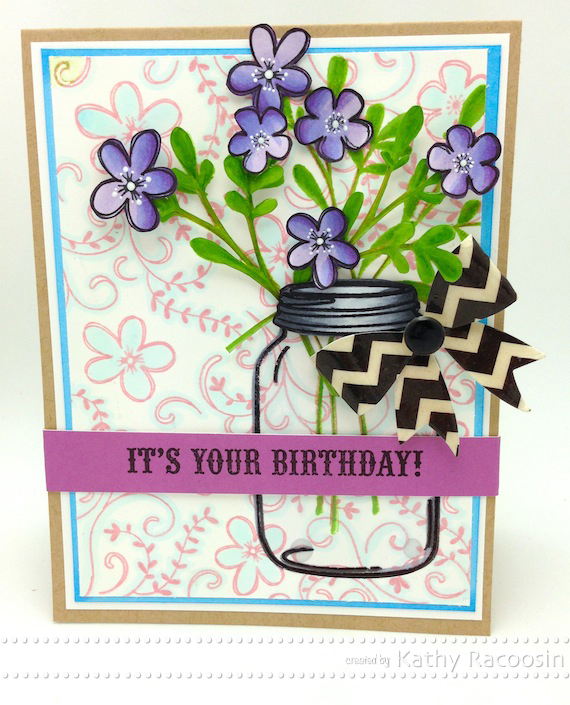
Hello Friends, How has your week been so far? Today I am honored to have this card featured on “A Blog Named Hero”. All MONTH they will be celebrating their First Anniversary of blogging and I take my hat off to them. It takes a tremendous amount of hard work and dedication to bring good content on a daily basis. Congrats ladies this truly is a celebration!
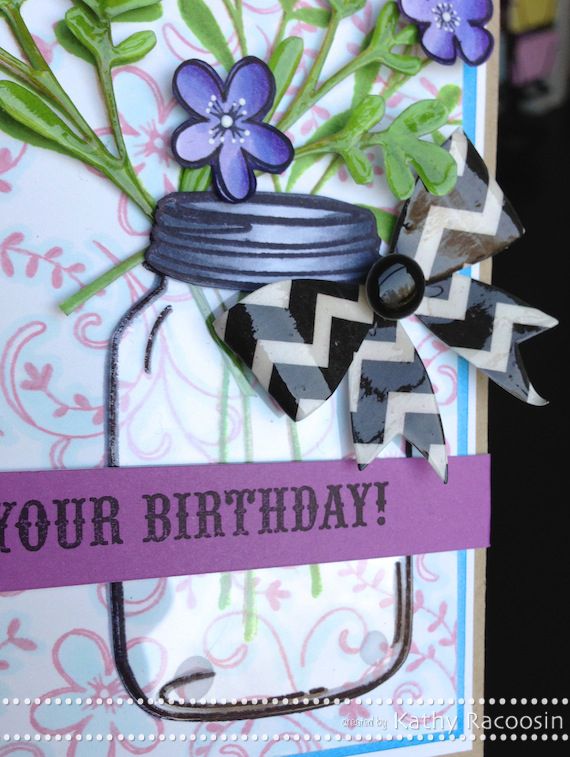 |
| Stamp the “Love Jar” on some acetate with a permanent ink. Use a small dot of Glossy Accents to adhere to the background. The “Perfect Bow” was die cut with this and then Glossy Accents were applied before adding it to my card. |
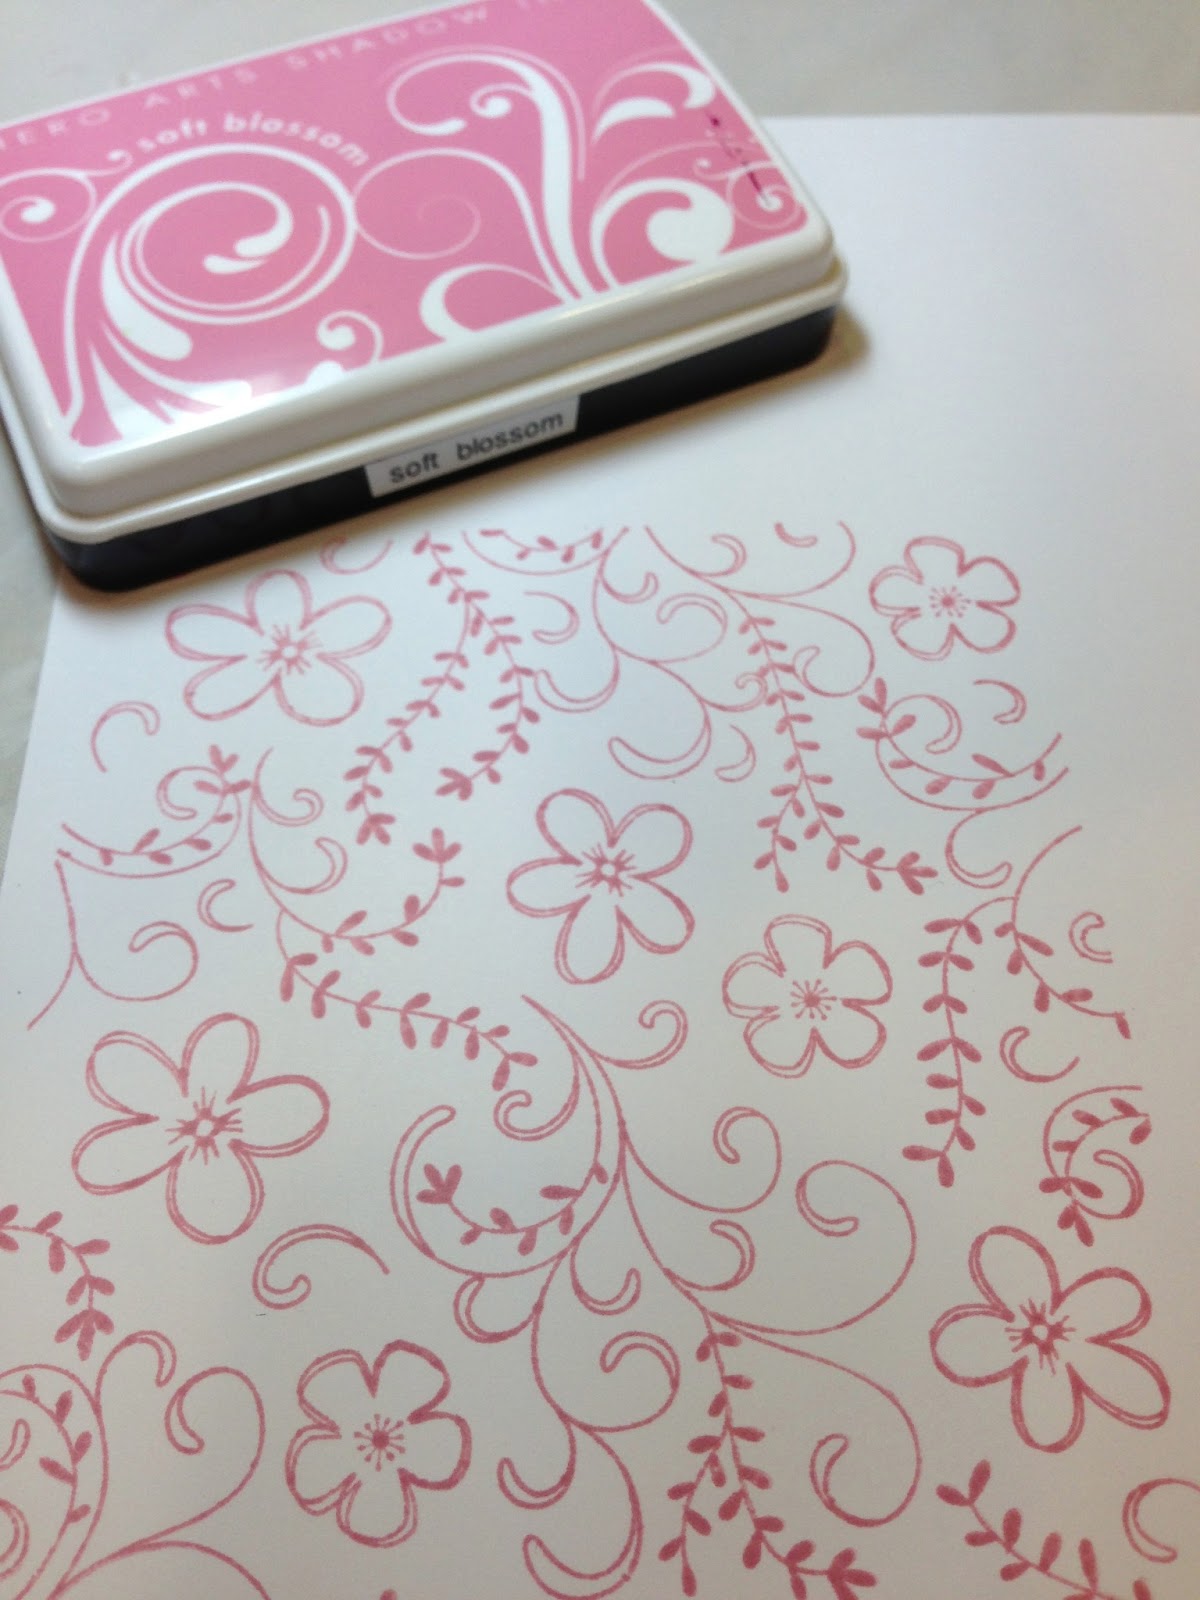 |
| Stamp the “Flowers & Vines” background with Soft Blossom. |
 |
| After stamping the stems add some color with a brown colored pencil. |
 |
| Repeat adding green to the leaves. I stamped a few extra stems and leaves, cut them out, applied glossy accents then I added them to the stamped stems on my background. |
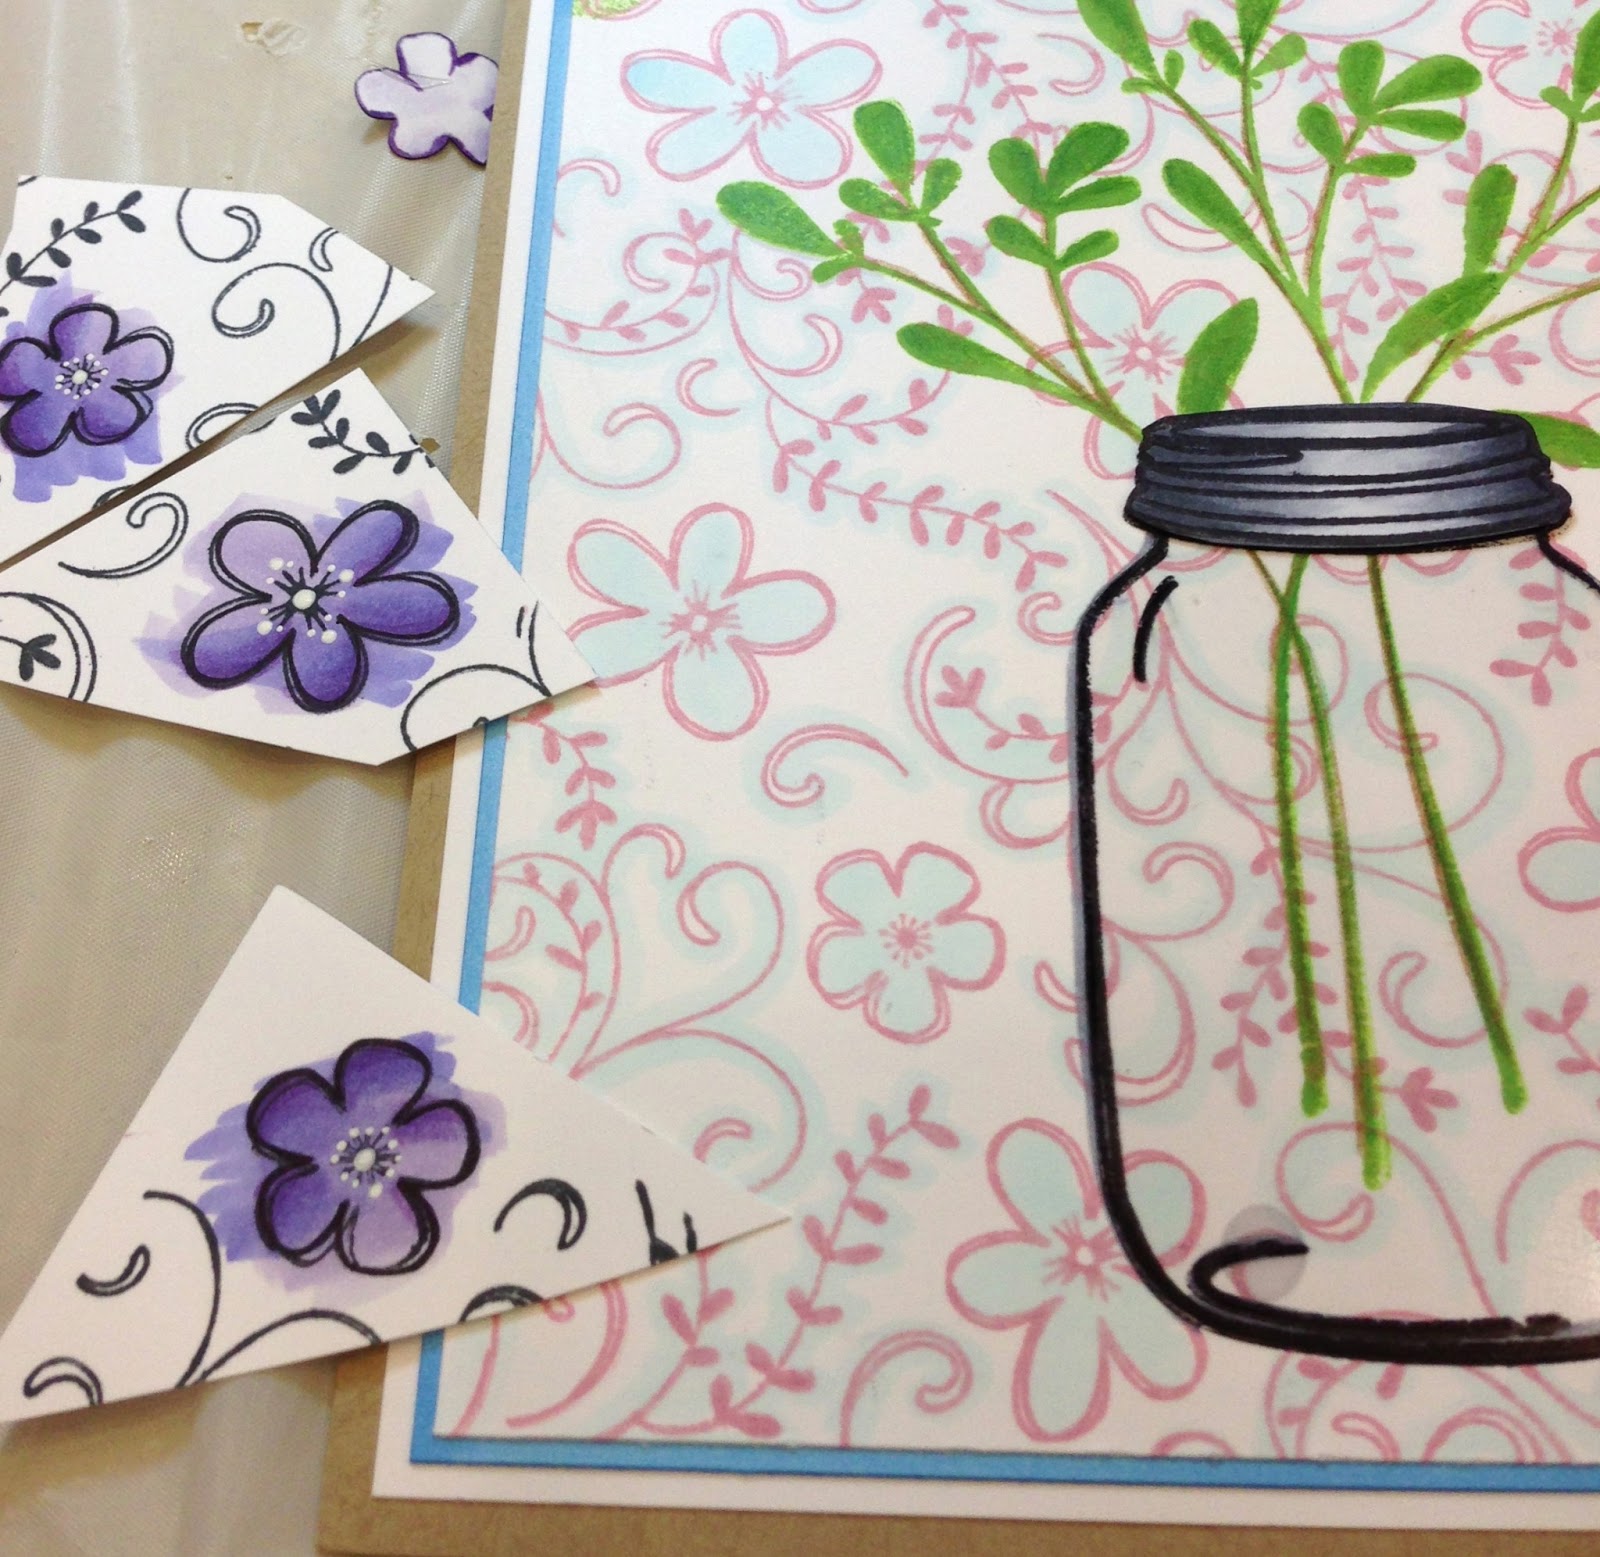 |
| Stamp the background again with Memento and color the flowers with some markers. Cut them out and pop them onto the stems and leaves. Email me if you have any questions. A special thanks to Mary Dawn… you rock girl 🙂 and a thanks to YOU for your visit today. I hope you will stop by on Saturday I have some awesome stamps to give away! Did you see the April card kit giveaway? Click here if you missed it. Have a happy weekend, Kathy |
CARD SUPPLIES:


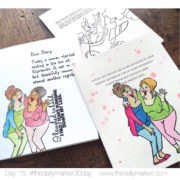 Day 15. Quick Cards & Winners
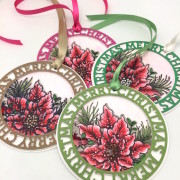 Holiday Tags & Giveaway
 distress paints … applying enamel accents


I just love and appreciate your photo tutorials. Love the added penciling on the stems and gloss. just so many great artistic tips.
So many lovely details … and thanks for the lesson!
So pretty x
Wonderful, Kathy, so imaginative – love canning jars full of anything!!
so pretty!
You have done it again, Kathy! This is one very unique and totally YOU card!! Love it.
Very cute–love the bow.
Kathy, this is just fabulous! i love the background and you incredible jar of flowers! You always bring such wonderful dimension to your cards!
Stunning card! Love how dimensions can be created with a brown color pencil and adding the glossy accent. Thanks for the photo tutorial.
what a gorgeous card Kathy. Very pretty.
Such a wonderful & lovely card 😀
This card rocks the house. I love it. I do need to ask you did you stamp the jar 2x to color the lid or did you color straight on the acetate. Thanks
Thanks for sharing how you made this beautiful card.
This is beautiful, such wonderful details.
Your details in this creation are so rewarding to look at – just a delight of dimension & texture. I was so interested to see you using brown with the green for the flower stems.
Thanks again for all your inspiration.
Paula (PEP)
Really like how the purple flowers are the same as background and are popped up as well as some of the leaves!
Such a pretty card Kathy! Love the srpingtime feeling it gives. Love your use of the acetate!
Bautiful card Kathy! Thanks for all the tips in how you created. TFS
Gorgeous with a Capital “G”!! Oh how I WISH I could master coloring with my Copics, as you do!!!
I always LOVE and admire your creations so much!! 🙂
SO beautiful. Thank you for joining us on A Blog Named Hero this month. It’s such an honor to have one of your gorgeous creations over there. 🙂
This is just so pretty, you did a wonderful job!
Pam
scrap-n-sewgranny.blogspot.com
Gosh this is so gorgeous Kathy!!! LOVE the beautiful colors and 3D look! Well done and congrats to A Blog Named Hero!
so beautiful.
You rock these HA stamps as always, Kathy! The colors and design are awesome!
Love your card, Kathy. Thanks for all the tips, never would have thought to put glossy accents on the bow.
Such a beautiful card and thank you for a wonderful photo tutorial!
Kathy, this is so refreshing. I just love this card. Have to pin this card. Thanks for sharing.
Love your card and tutorial.
I’ll be sure to give it a try.
I would never think of getting this jar stamp, but your sweet and cheerful card is making me want one.
wonderful card and stamps, love the bow too and the glossy accents are a great touch. Thanks for the tutorial of how you made this card come to life. love it.
Love the detailed instructions. Beautiful card!
love this card, clever use of the background stamp and acetate.
The jar is so cute. I like the glass look.
What an amazing card! All the different techniques and coloring mediums used for this card! Awesome!
Thanks Kathy for celebrating with us and honoring our blog with your gorgeous card!!!
thanks for the tutorial.. I am going to try this jar on acetate. love how beautifully your card turned out.