
Hello Friends! Welcome to Day 21. Oh my goodness we are on the home stretch! How are you feeling? Are you seeing improvement in your coloring? Feeling more confident? Some of you have reached out to me and let me know that you are noticing a difference and that makes me so happy! Woo Hoo!
My favorite part of the class I taught for Online Card Classes was when I used images from fellow crafters and added more color to their beautiful coloring!! In essence that is what I am doing today with my own coloring.
The class is still available and only $20.00 … *If you are unhappy with the class I will personally refund your money.
Most of you know what spotlight coloring is right? Spotlight coloring is when you highlight a particular area or image on your card by coloring that particular area or image only. Sometimes you might see spotlight coloring where everything is black & white except for the spotlighted image.
Here is some “spotlight” coloring I did in 2015.
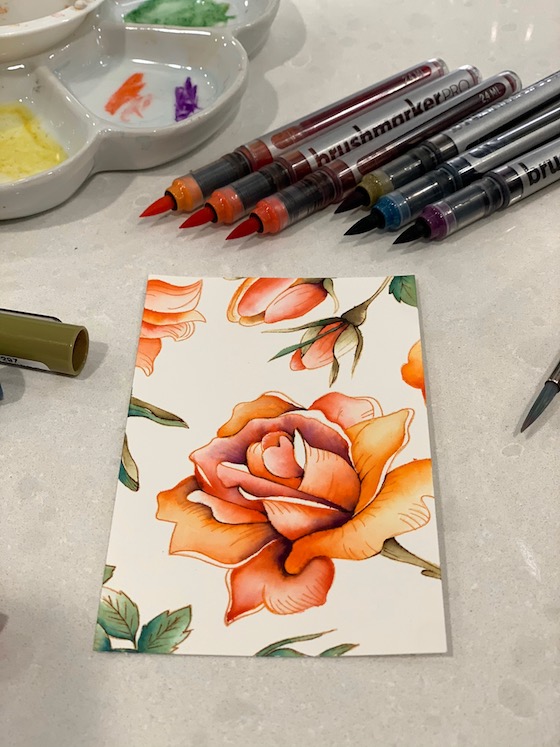
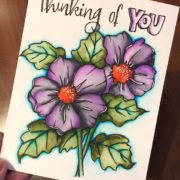
This is a background stamp, “Sketched Floral” from Erin Lee Creative. I inked the stamp up with Gina K. Designs Warm Glow ink and watercolored the flowers with Karin markers. Today I am using Hot Press paper and I do not like working with hot press. I am a Cold Press gal!
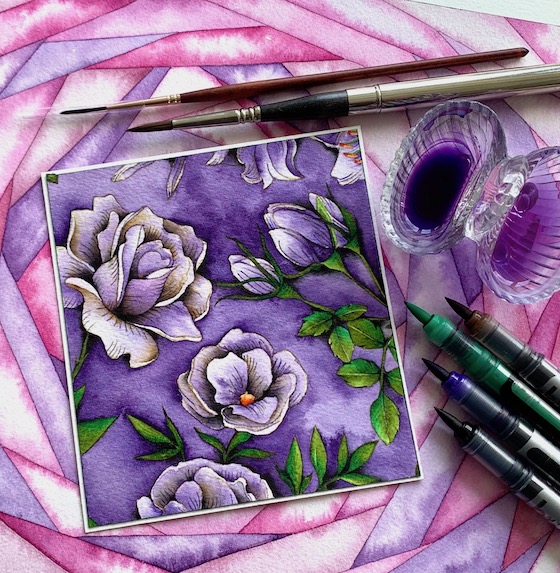
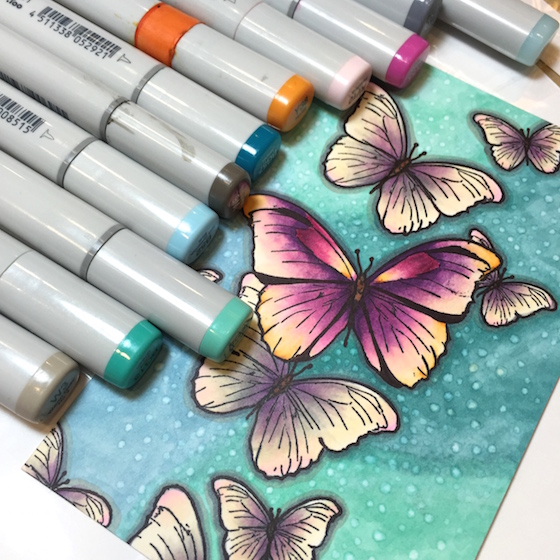
Sketched Florals is a large stamp but, my painting today is only a small portion of this background stamp. This purple painting I posted on Day 7.
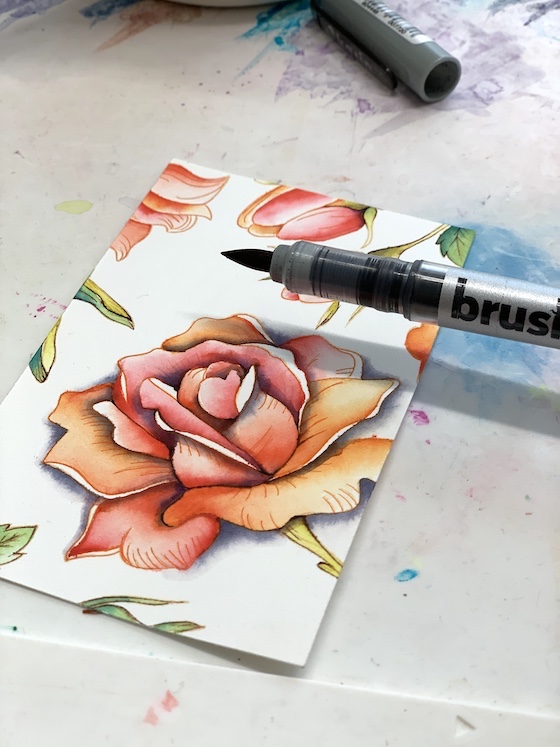
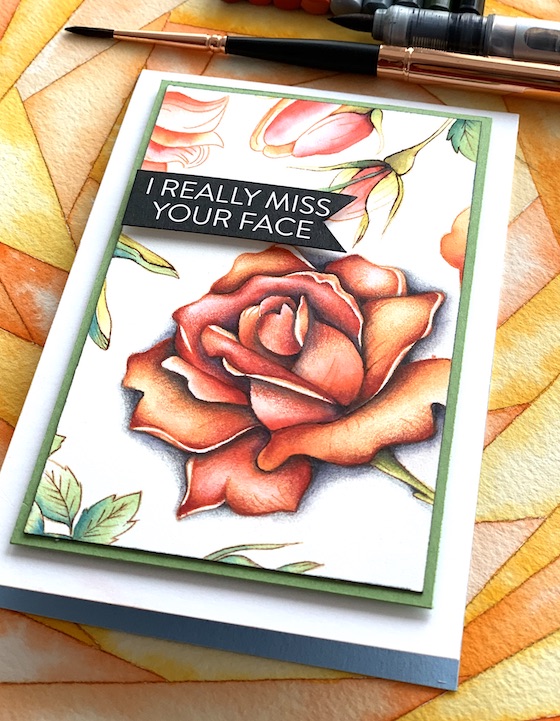
Back to today’s coloring! My flowers were painted a few weeks ago so my card panel was primed and ready to jazz it up. I began with a grey Karin marker. First I wet a small area and then dropped in the color from the tip of the marker. Using a wet, clean brush I blended the grey a little working in small areas around the flower.
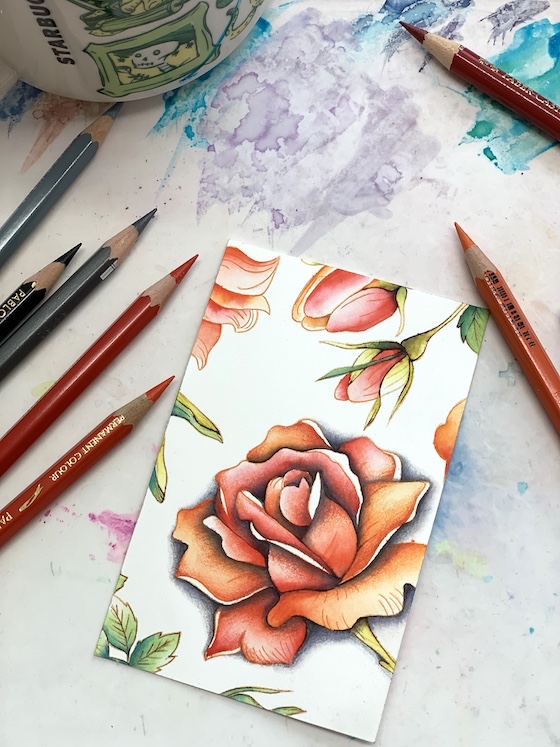
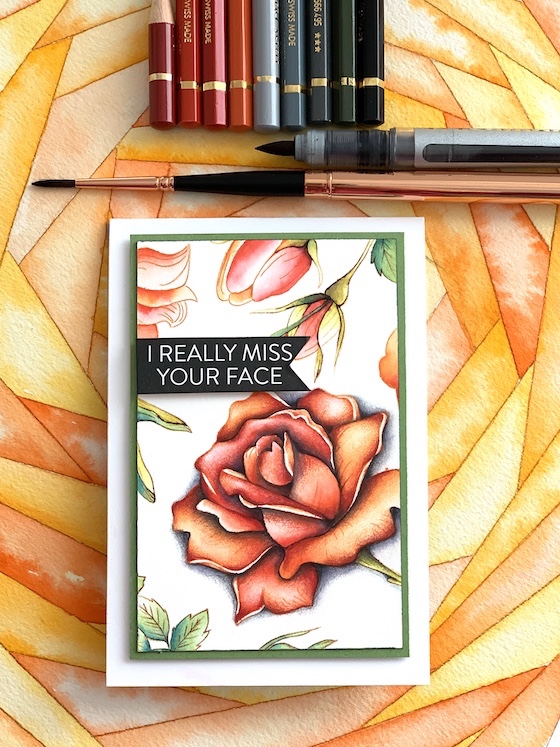
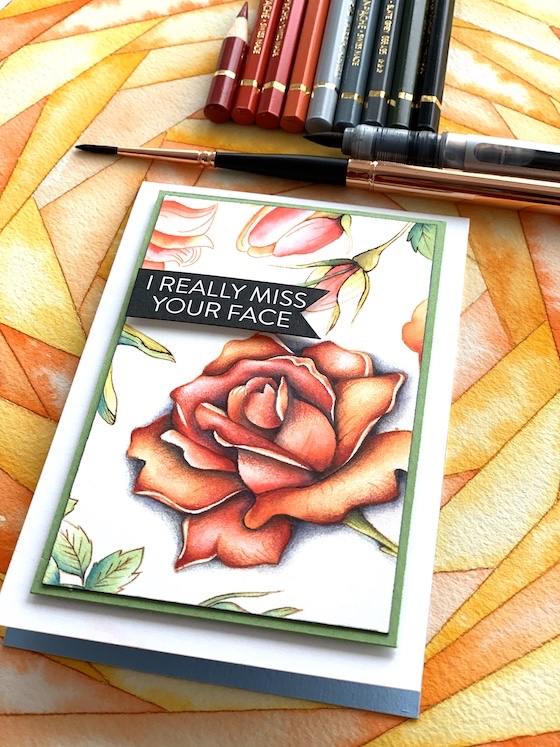
When the flower was completely dry I softened the grey watercolor with some grey pencils and darkened the nooks & crannies. I thought I was finished then … decided to add more oranges and a really dark red with my pencils. Once my card was completely finished I added more color on the petals lol.
One of my top 10 coloring tips is “Know When To Walk Away“! You can see why.
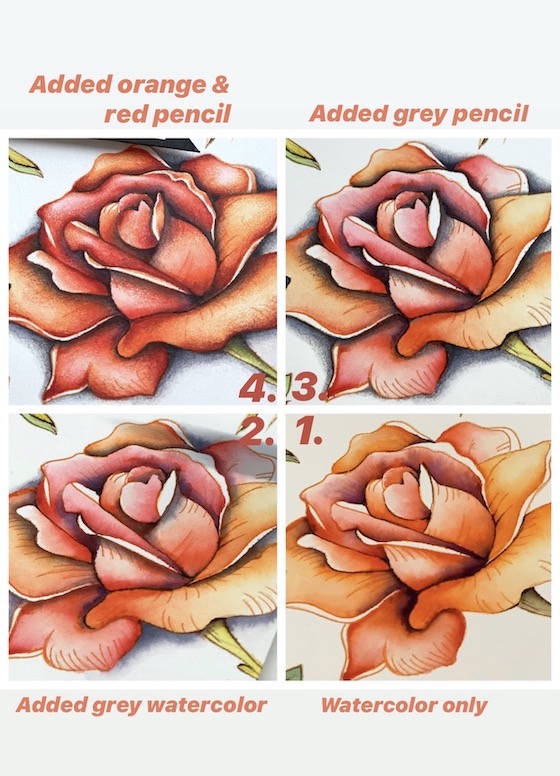
Maybe this will help you? I challenge you to add some black or dark grey to the nook & crannies. Not as much as I did just a tiny bit if you are feeling adventurous.
The only thing left to do was add a sentiment strip and I the LOVE the ease of these printed sentiments. The ones I am using today are called, “Reverse Miss You” and there are so many more for all occasions.
See you tomorrow and thank YOU for your visit. Hugs, Kathy
P.S. To share you coloring ON MY BLOG click here to link up.
There are 2 other ways to share what you are coloring. If you want to join a community of coloring enthusiasts I recommend Instagram or FaceBook. FaceBook and Instagram are both places to connect with the coloring community and great places to share what you are coloring. Please Tag me,Kathy and use the hashtag #thedailymarker30day. Children #thedailymarker30daykids.
P.S.S. If you have any questions about the coloring challenge you can refer to this post . If you want to get my posts in your mailbox you can sign up here or subscribe to my videos here.
 Day 7. Coloring On The Airplane Part 2.
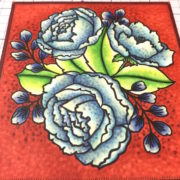 Day 19. It’s Finished
 DAY 6. you rock & a Giveaway


WOW ! The detail on the rise changes so much with the different additions from grey watercolour onwards. I tried the rainbow background blending mentioned when you showed us your versions early on in this challenge. Yours look better but will post it for proof. Today is all about starting a thank you for a front line worker, then a key holder picture frame to do & a new birth x stitch to start, busy in several creative channels. Have a fabulous sunny day, stay happy creating art x
You have lots of projects in the works! Fun!
Hmmm. Not so sure on this one if I like the final details or the finished first. They are looking all so unique and lovely. I like having all the steps pictured to examine more closely. The fourth step does add that depth that makes it have the pop dimension feel.
So glad that the pictures are helpful. Then you can decide what you want to do on your projects!
Absolutely gorgeous either way. I would be thrilled to just pull that off. haha
Thanks
Just love how you enhanced just the one flower, Kathy! Really made it pop with the additional color and the grey shading!! Stunning!!
Thanks!
Just beautiful Kathy
Thanks!
Very beautiful card!
Thank you
I took the on line class. I keep going back to the lessons to learn more.
I’m so glad
BE
ABSOLUTELY GORGEOUS!
… I’m so proud to say that I coloured a background, there was a moon behind the image, so I gave my Copic makers a workout to give the moon a glow going ever so dark at the edges => THANK YOU for HELPING me be more ADVENTUROUS 🙂