Hello Friends, How have you been? Have you been checking out all of the special collaborations on the Simon Says Stamp blog during this special time of STAMPtember® ? There are some pretty cool exclusive stamps sets that are just for sale during STAMPtember® only. For example, these adorable “Super Duo” images and this set from Tim Holtz. I am currently using the one from Lawn Fawn and get to share on my blog next week!! Exciting stuff 🙂
Some of these goodies on my shaped card today I will be using next week for a totally NON holiday card. The stamp set called, “Nativity” can be used for a quick card or you can take some time and make a super special card with it.

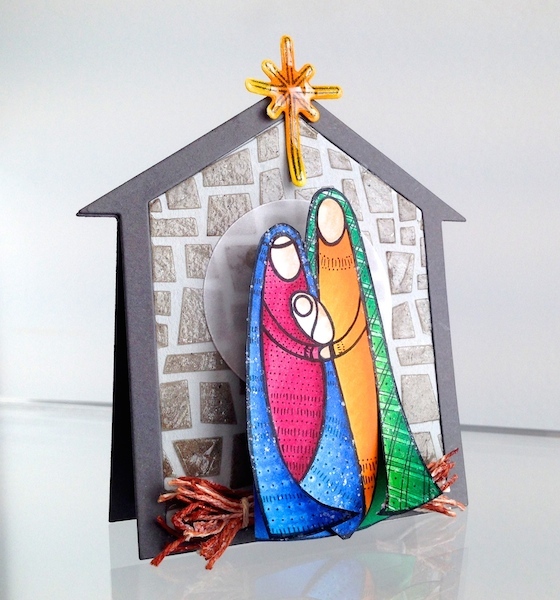
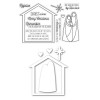
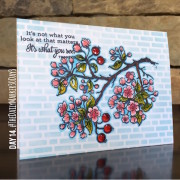
Creating shaped cards are always something I enjoy doing and this “barn” is perfect for so many things. Stamped vellum on the inside carries a special sentiment from the stamp set.

Sometimes I find it really relaxing to just really take my time creating card and add lots of details for a special person. Below is a step by step for you on adding the details and assembly of my card. I hope you enjoy it and find it useful. On the category tab “TUTORIALS” on my blog you can find lots more if you like this kinda thing 🙂
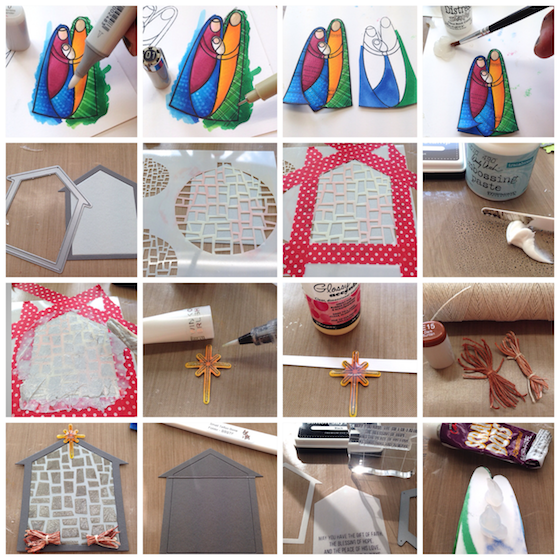
INSTRUCTIONS:
1.Stamp 2 figures w/Memento ink.Color w/Copics. Use “0” to make dots & stripes. Repeat to get desired effect.
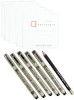
2.Use “01” Multiliner to add tiny lines, dots & more stripes. Cut figures out.
3.Color second image partly & glue both images together.
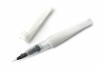
4.Use a brush to apply Rock Candy Stickles to veils.
5.Die cut the barn in Smoke Grey & Slate Grey. Add tape neatly on the back to attach.
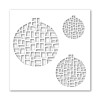
6.Place Mosica stencil onto of the barn die cut.
7.Use washi tape to secure so there isn’t any movement.
8.Stamp Cobblestone ink directly on craft mat.
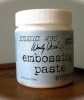
9. Mix Translucent Paste with ink.
Spread mixture on the house. Remove excess & clean up with a wipe immediately. Set aside to dry.
10.Die cut the star. Stamp w/Memento Ink & color. Brush on Wink of Stella.
11.Add Glossy Accents to star. Set aside to dry.
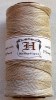
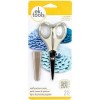
12.Color twine w/ a brown Copic marker. Tie the twine into a bundle, trim the loops. (I had extra distress stickles on my mat so I added that to the twine)
13.Cut bundle in half glue w/Glossy Accents onto card. Glue star.
14.Die cut another house for the back of the house & score.
15.Die cut vellum, stamp sentiment w/Black Ink. Let dry & glue to back of card.
16.Add Scrap Dots on the figures. Place on card & let dry.
WE HAVE A WINNER FOR THE SIMON SAYS STAMP AUGUST CARD KIT as seen in this post. A big congrats to Birgit! Don’t worry lots more opportunities to win are coming up. Next week is a Special STAMPtember® Card Kit giveaway and blog hop!! Lots to look forward to.
Have a great week and see you soon with a a GIVEAWAY TO OCC’S COPIC FOR CARD MAKERS CLASS. Hugs, Kathy
CARD SUPPLIES AND LINKS: click on any thumbnail below 🙂


 Day 14. Card Makeover
 Marvy Le Plume Alcohol Markers
 Penny Black’s NEW Christmas Stamps


I can’t believe the random number picked my number with all those entries! Thanks so much!! What do I need to do to receive the kit?
Beautiful card ~ As always! Love all the texture and layers!
This is soooooooo lovely…..wow.
This is pure awesomeness! Love the texture you added with the multiliner and colorless blender. AND all the yummy texture from the EP. Brilliant! xo
This card is ethereally stunning! I just love your work. I MAY have brought almost everything in the new release! My credit card is groaning from the workout. Yeah, that is gonna be a shocker when the statement comes in! Hahaha!
Such a beautiful card, Kathy! The stone wall background looks wonderful and I love all the details you have added using a fineliner and a colourless blender. It almost looks like faux paper piecing LOL.
Marianne x
I love all the amazing details you’ve added to this gorgeous holiday card, Kathy! It is truly a work of art! ♥
So striking, I love this card. Your step by step instructions make it seem less daunting. Thanks so much for sharing.
Your card is amazing and I am looking forward to seeing you in the OCC Copic class. I live in a rural area and have a satellite internet connection which is not the fastest. Downloading videos takes patience and I love being able to see your tutorials instantly on your blog.
What a great card.. a lot of detail. Thank you for the step-by-step instructions! I have this stamp and die set and can hardly wait to begin work on my holiday cards. Thank you!
Love your nativity card.
I love this card. The background was genius. What a lovely Christmas card. Thanks for sharing your talent!
What a precious card. Love the images, the barn shape, the coloring… great background on the vellum.
What a beautiful card. I just Love the background and I was wondering where I had seen this before and I remembered you used it before on the hearts. I love seeing how you make you’re cards, gee I love watching and it help me to learn as I’m more of a visual learner. Thank you for sharing you’re talent.
What a beautiful card! I would love to have it sitting on my mantle at Christmas.
My jaw dropped when I saw this card!! Incredible! The stones for the wall …genius! I would of never thought of using the ornament stencil for that!!! And the details on their clothes?? Wow, just wow!! I wish I had Copic markers ( a bit too$…) so I could take the online class, I always enjoy each and everyone of them! You are definitely the master in Copic colouring !! 😉
What a BEAUTIFUL JOB you’ve done with this image Kathy! I LOOOOOOVE the detail to your card! I think the detail makes ALL THE DIFFERENCE!!! 🙂 JUST BEAUTIFUL!!!!!!!! 😀
Love to see this card. I enjoy your work.
Beautiful creations and congrats to your winner x
Such a beautiful card!!
Your card is lovely. The texture is very effective. Thanks so much for the tutorial, I’ll definitely be trying this!
Wow,gorgeous card Kathy!
This is a Christmas Card my Grandmother would cherish… It would be center stage on her mantle! <3
What an amazing card Kathy! I just love the vellum touches on it! And congratulations Birgit!!
this is gorgeous! like a little piece of holiday art!
Really love your card. So lovely!
This card is fabulous! Love it!
this is beautiful! the detail in their fabric is amazing!!! and i need to try that scrap dots adhesive- never heard of it!! 🙂
I really like this Nativity project. Beautiful colors too! Good use of Vellum.
Absolutely divine project, Kathy! I love every detail!!!