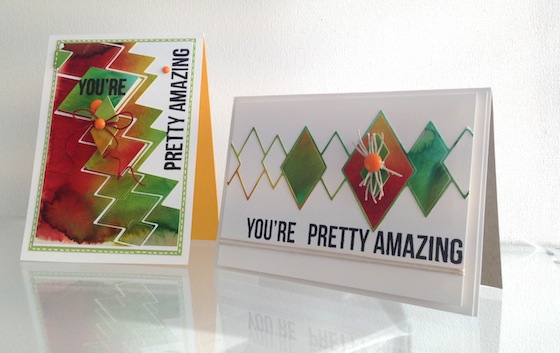
Hello Friends, Anything new with you? May was a busy month and lots of car travel. Todays cards focus is not only the Diamond Parade die cut but, also the watercoloring that I managed to do in the car with the peerless watercolors.
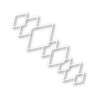
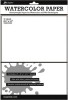
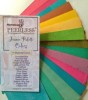
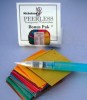
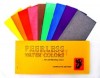
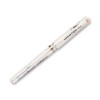
Turning your die cuts at an angle and using part of the scraps can give some of your dies new life as you see in the pictorial below. I had several sheets of watercolor backgrounds that were ready to go from my travels. (I used this paper and these watercolors)

- Die cut the “Diamond Parade” twice from a watercolored background.
- Use parts of the scraps and the diamond parade.
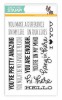
- Cut the sentiment in two pieces from stripe greetings.
- Stamp the partial sentiment on the side with black ink.
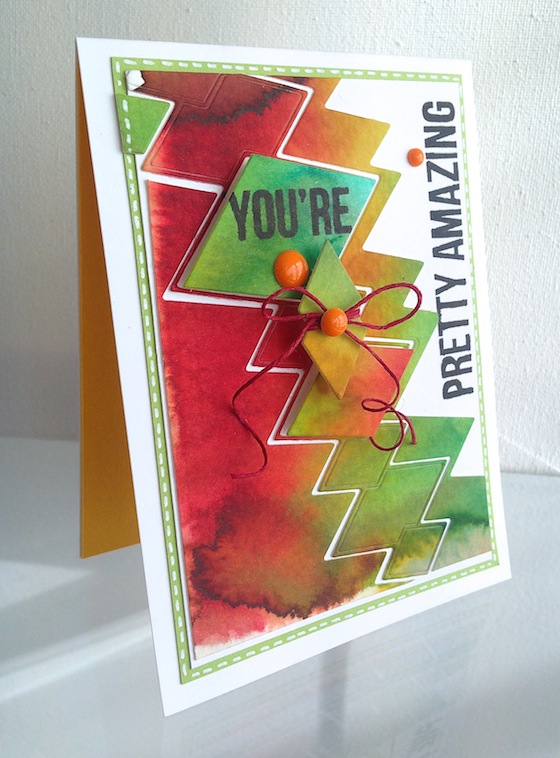
- Stamp the “you’re” part of the greeting onto the large diamond and add some foam tape.
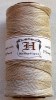
- Color some twine with a Copic marker to match your background.
- One of the smaller diamonds has some notches in the sides and they are perfect to tie your twine around.
- Curl the ends with a small brush or pen…anything really. The smaller the end the tighter the curl.
- Layer your papers, add some faux stitching with a gel pen and add some enamel dots. For a pop of color on the inside use some coordinating paper.
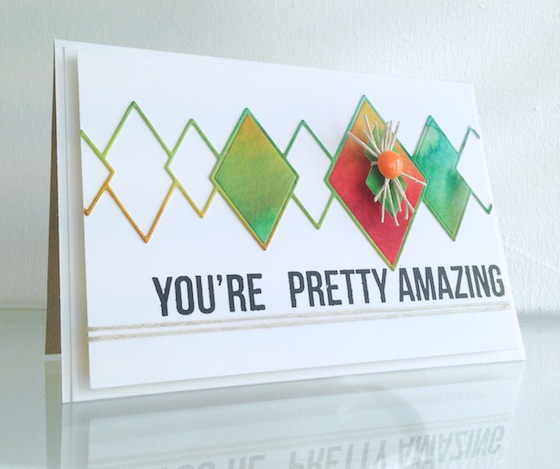
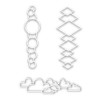
Since I die cut two of the diamond parades I has some leftover diecuts so this card came together very quickly…always a happy bonus.
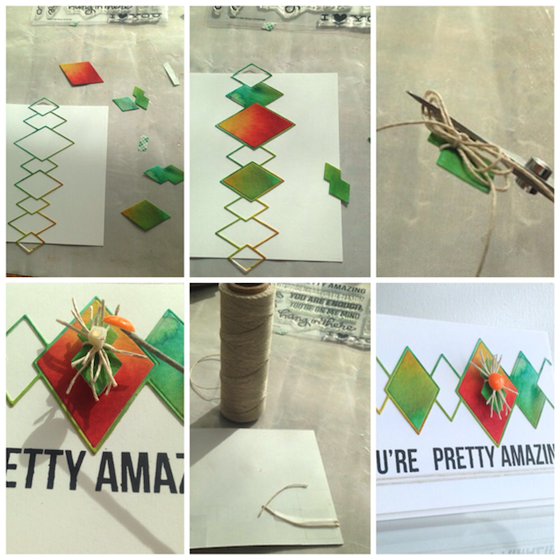
- Layout the pieces you want to use.
- Glue and piece together your scraps. I always use glossy accents.
- Tie a triple bow around the notched diamond and snip the looped ends.
- Pop it and add an enamel dot.
- Tape on the back two rows of twine for some interest on the front.
- Admire your handy work 🙂
Simon also came out with “Bubble Parade” and “Cloud Bank” that would work beautifully with this technique too. Thanks so much for your visit today. Hugs, Kathy
CARD SUPPLIES & LINKS: click on any thumbnail below:


 Day 18. Sneaky Peek
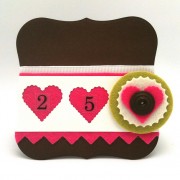 My last assignment from SRM stickers
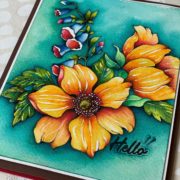 Altenew + The Daily Marker Watercolor Therapy Blog Hop & Giveaway


Masculine cards are the most difficult to make. You have diminished that task with this card.Thanks for the inspiration.
wow awesome card.. loving all the cool color and what you did with the twine..
Fabulous Kathy. Love the bright colours and the stunning design.
Love these cards, Kathy! The colors and dies definitely make for a masculine theme. Thanks for the tutorials.
Awesome cards, Kathy! Can’t believe you can do art while riding in a car!!
Wow Kathy! These cards are WONDERFUL! I LOVE the watercolors you’ve done & the use of the dies are just whipped topping! 😛 JUST WONDERFUL! 🙂
Love your design – very clever and artistic 🙂
Love it! I just received my set of these dies and I think I’ll do a watercolor piece first!
Beautiful and fantastic card!
Adore the water coloring!!! the die is awesome!! Always use ideas for masculine cards!! Thanks!!
OMW these cards are super fabulous Kathy
Great idea! I plan to use some of my practice watercolor papers for this use. Thanks
this is fantastic, I struggle w masculine cards as I guess many of us do, I can replicate this, I have a diamond die and stamps I can use. thanks for the brilliance and sharing.
Love your cards, and the colours are lovely too!
Beautiful is your card full of lots of lovely detail as always xx
Hey Kathy! Great job on these cards! I just received the Bubble die that is like the diamond one. Can’t wait to try it out. Thanks for the tutorial!! Have a super day!! Hugs!!
Love your cards. So very fun.
Love it! Great colors and fun technique! I wanted to say it was nice meeting you in Columbus and watching you demo live. I picked up a Dove marker and am looking forward to trying it with my Distress Markers with my copies after watching how great your flowers turned out……Thank you!
the cards turned out gorgeous. I must get some of these water colors. I love that they are so vibrant. tfs
These are killer cards! Love both of them.
Love these… You are so very creative!!! Xoxoxo
I love the color choices! I really need to find some time to watercolor.