Congrats to Merry for winning “Poppy” from Purple Onion Designs. If you missed this post you can read about it here.
Now…here is the photo tutorial for the card I posted here. Please note I have the white glitter on order ( I was borrowing it from Kate who I hear has an awesome store in Boston & a online shop too called ABSOLUTELY EVERYTHING. )
 |
| Before I begin all supplies are listed below. |
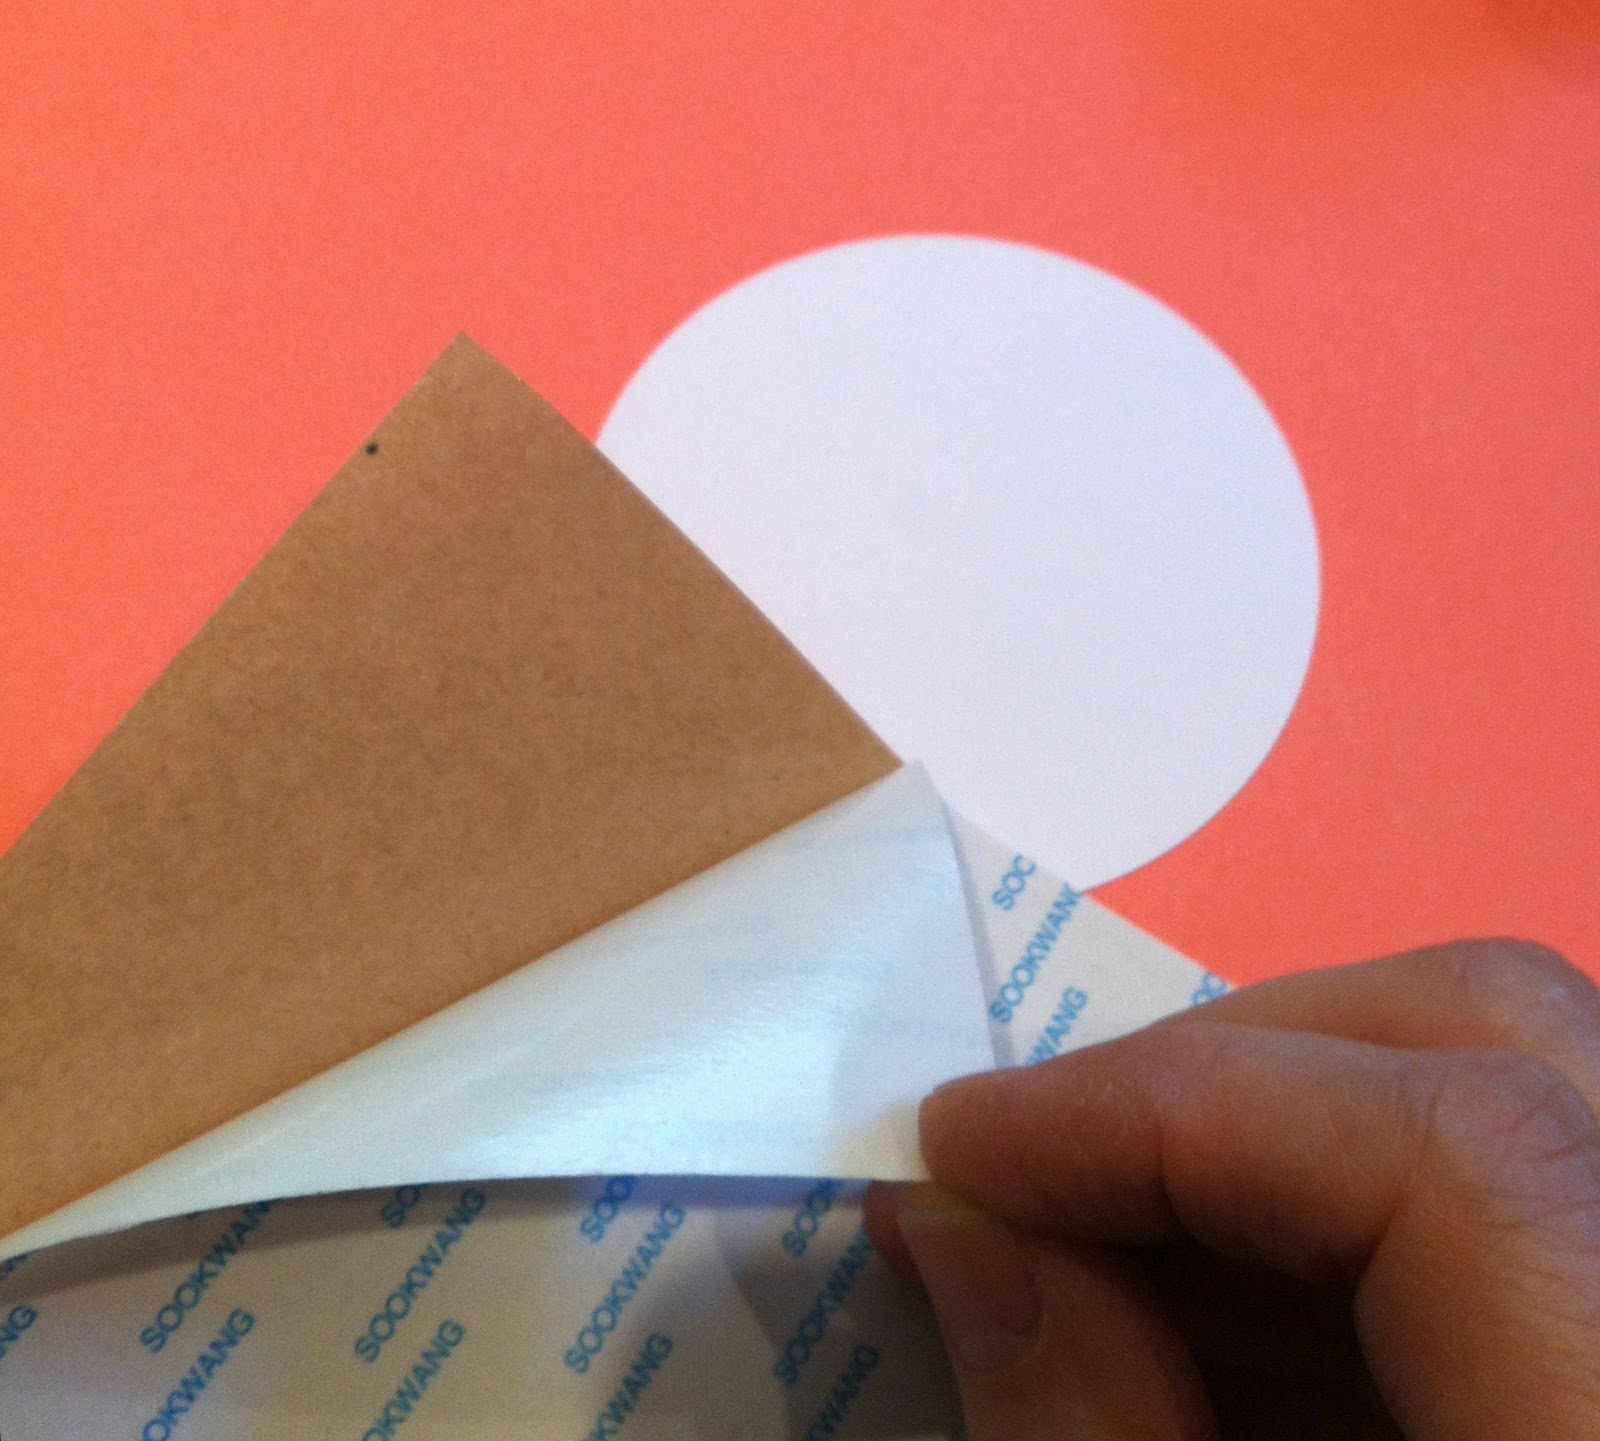 |
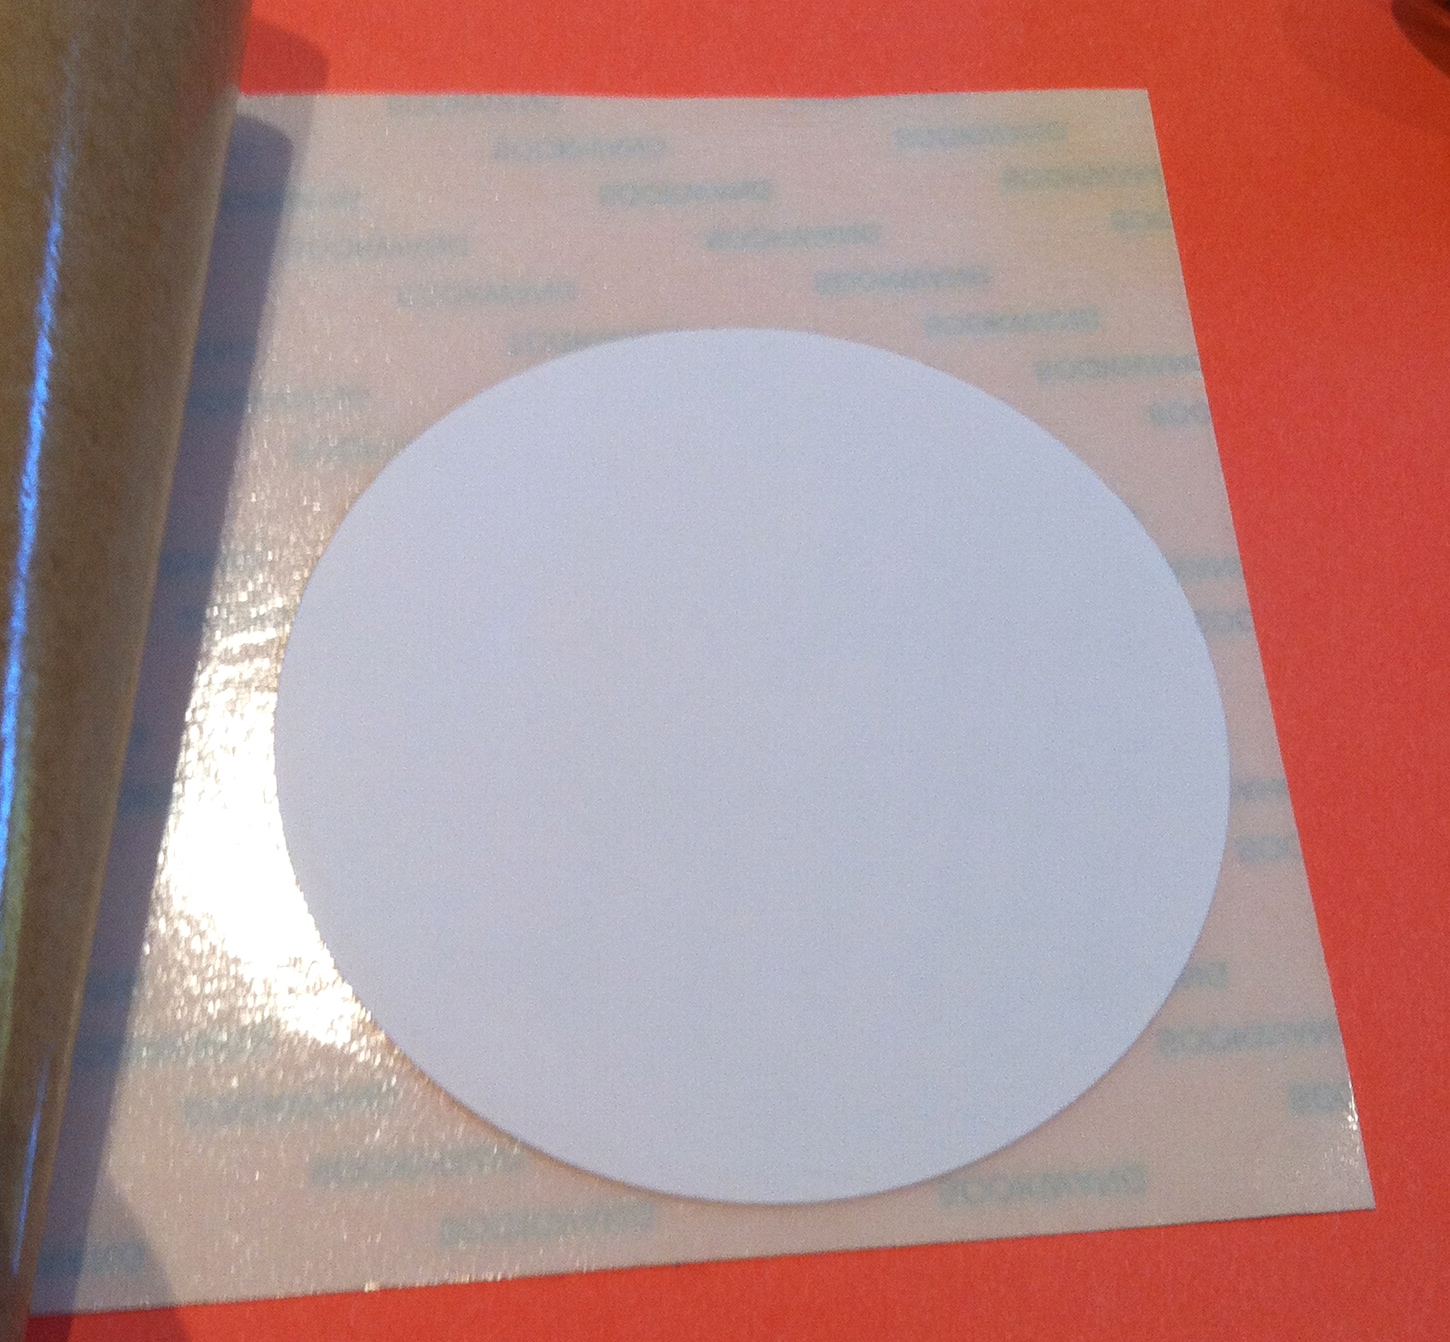
| Peel off one side of the double sided sticky paper or tape called Sookwang and stick it on some white card stock. |
 |
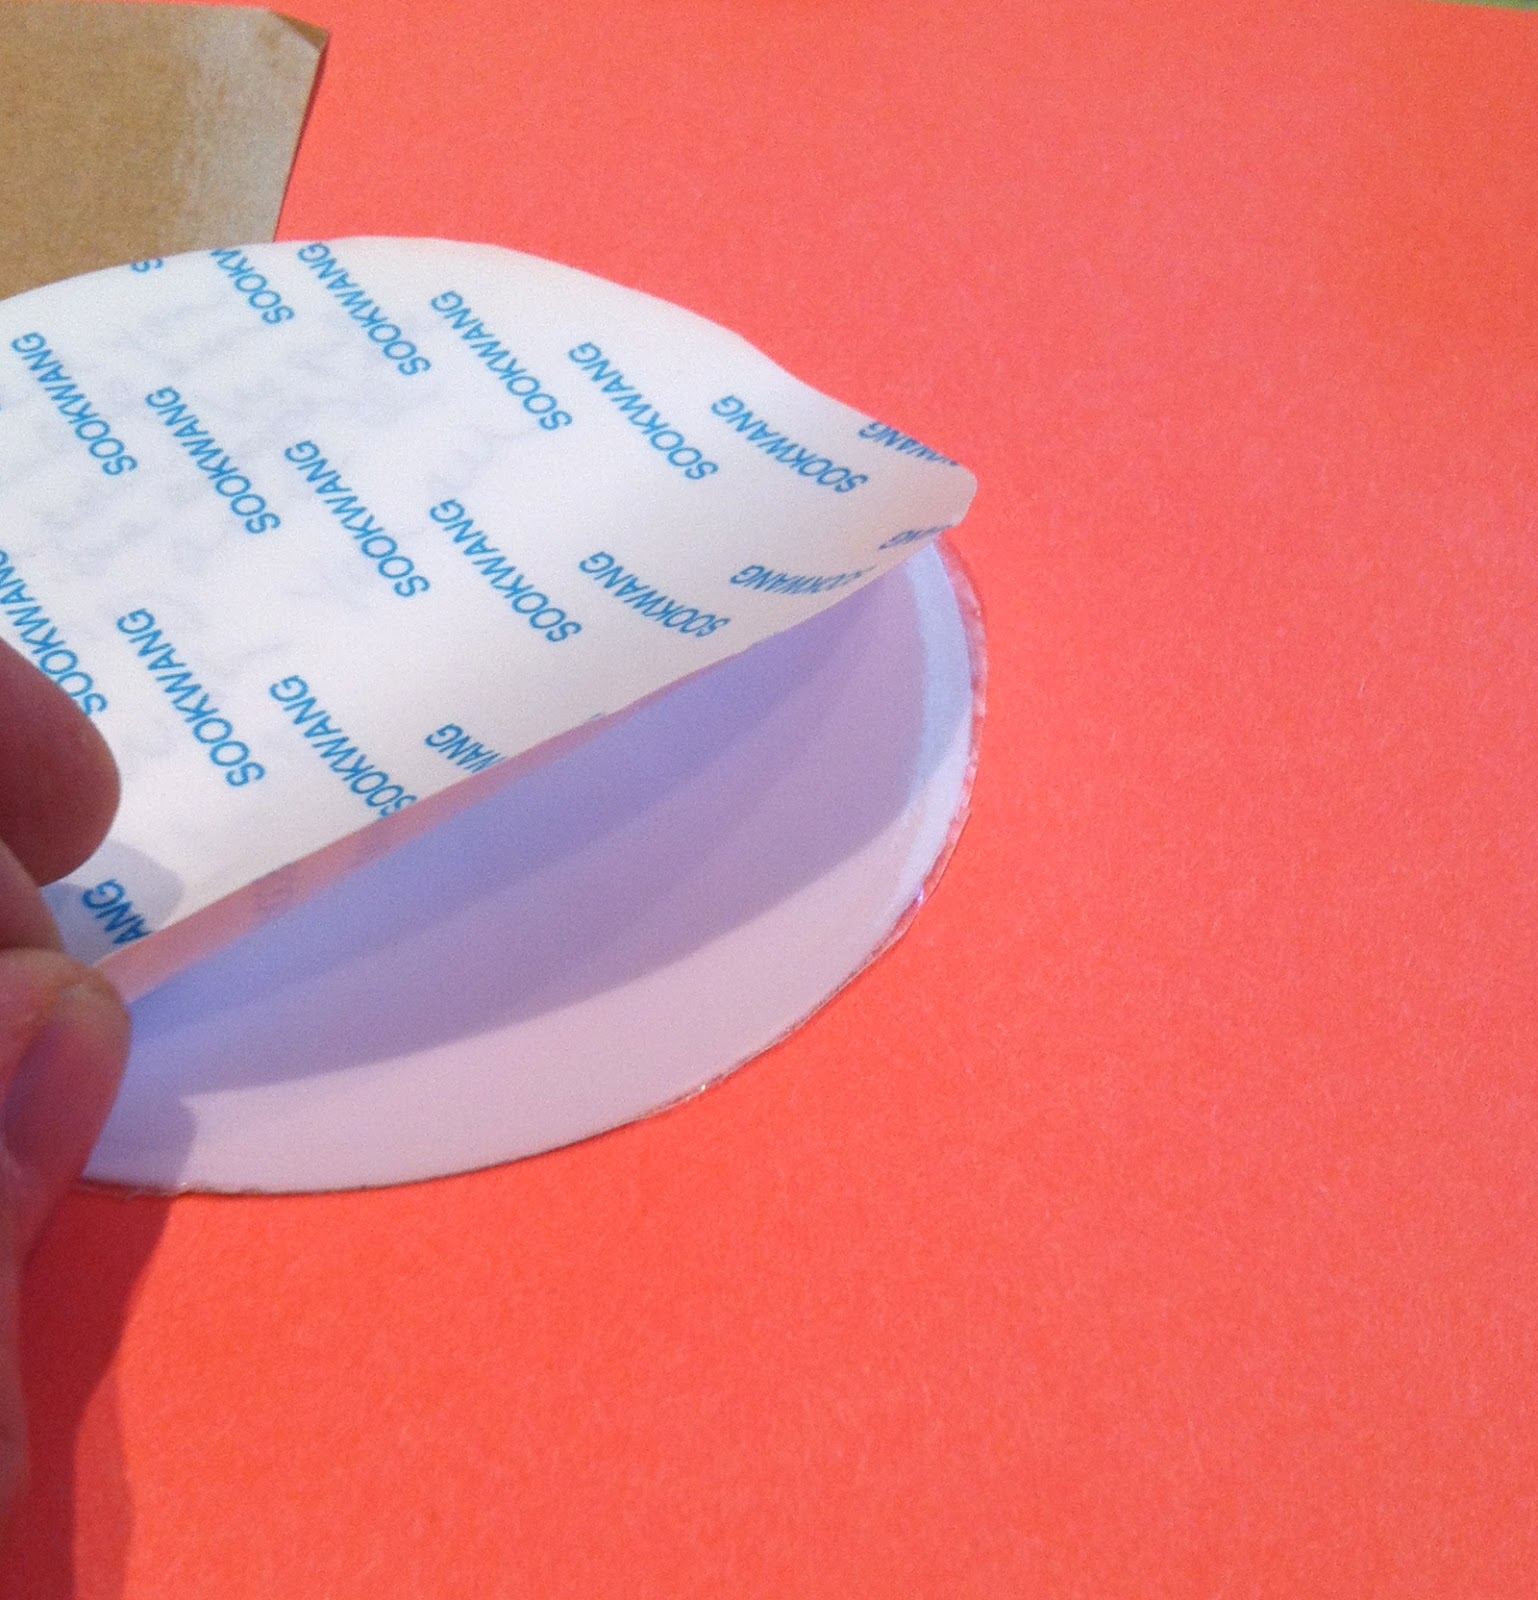
| Trim the excess sticky parts off and turn over. Normally I am more careful not to waste but, I was in a rush when I created this. |
 |
| Now remove the other side of the Sookwang. Try not to get any finger prints on the sticky part. |
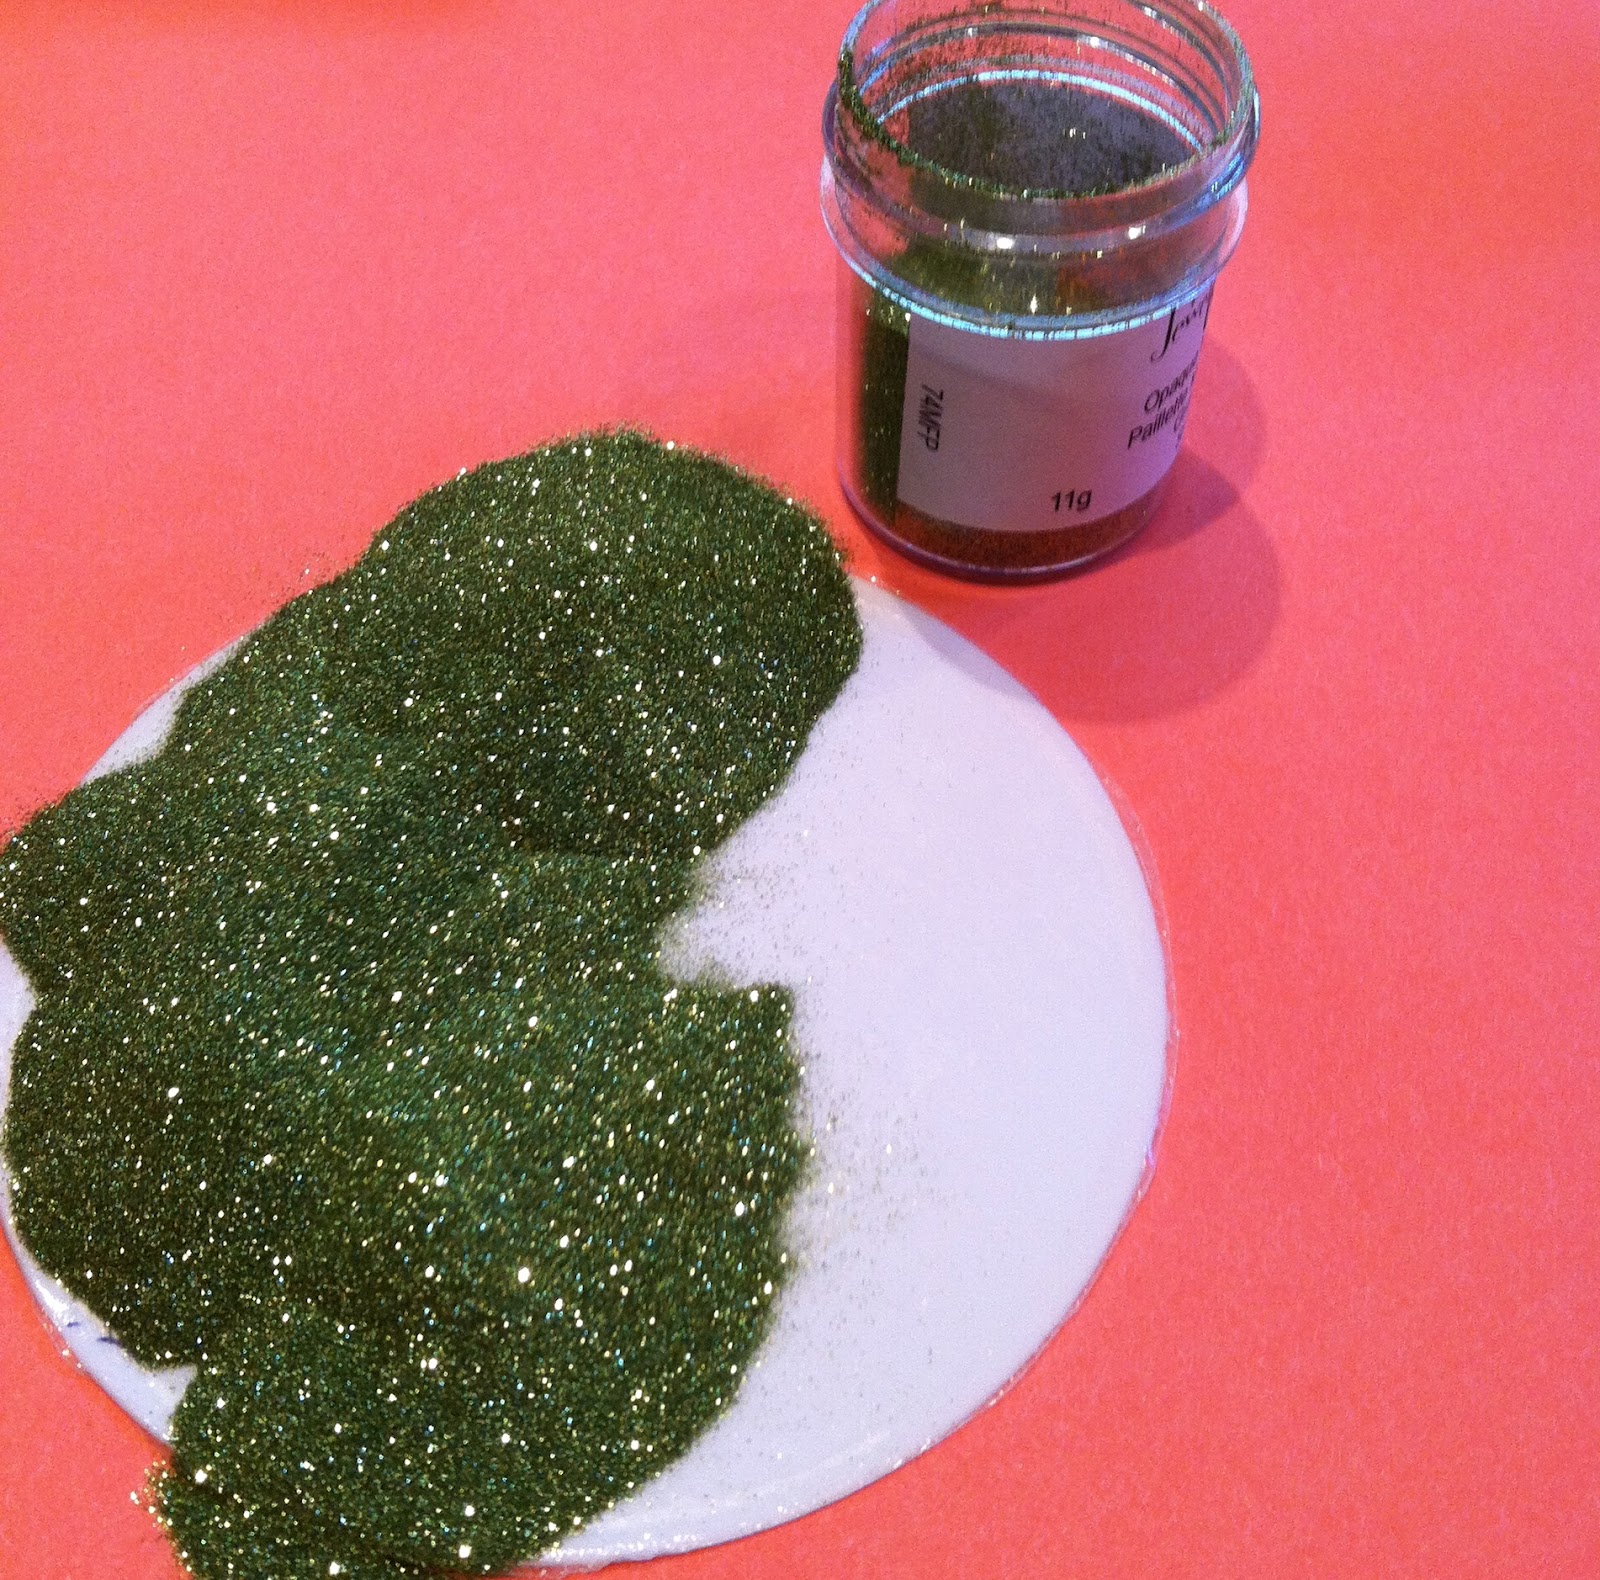 |
| Add your glitter (for this tutorial I’m using green) and shake off the excess glitter. |
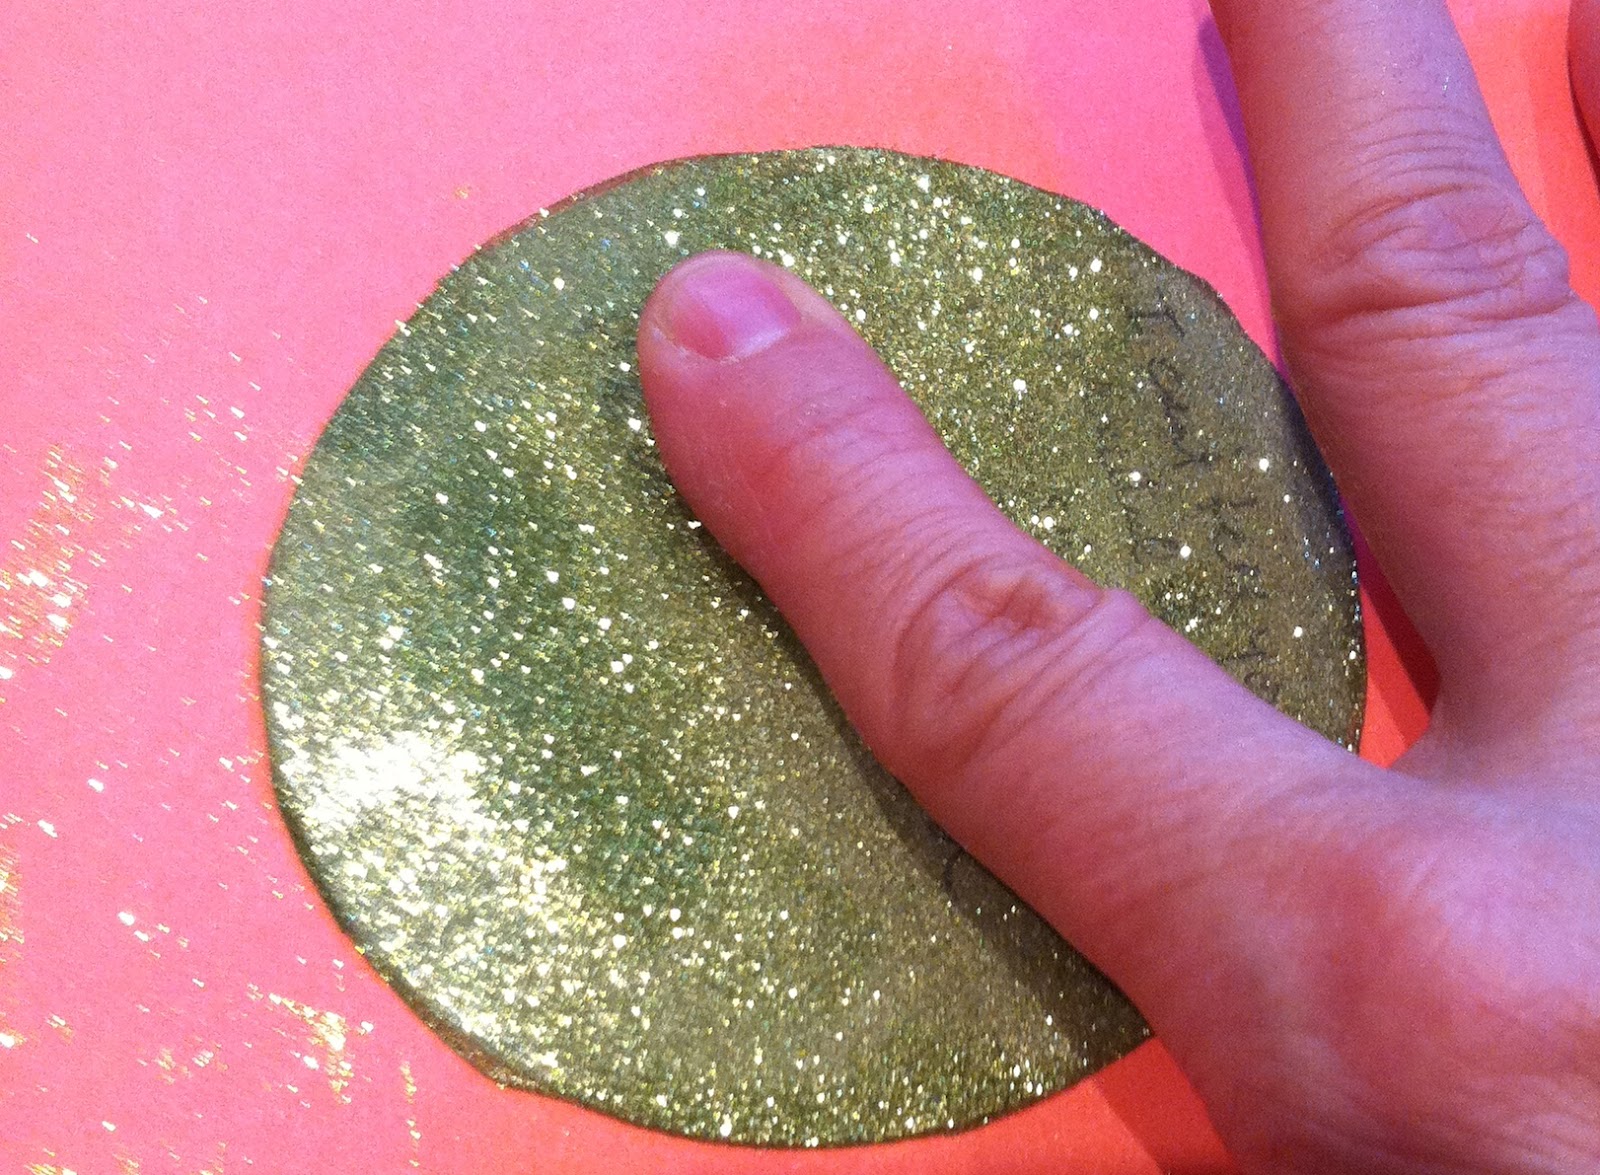 |
| Take your finger and rub pressing your finger into the paper to burnish the glitter. |
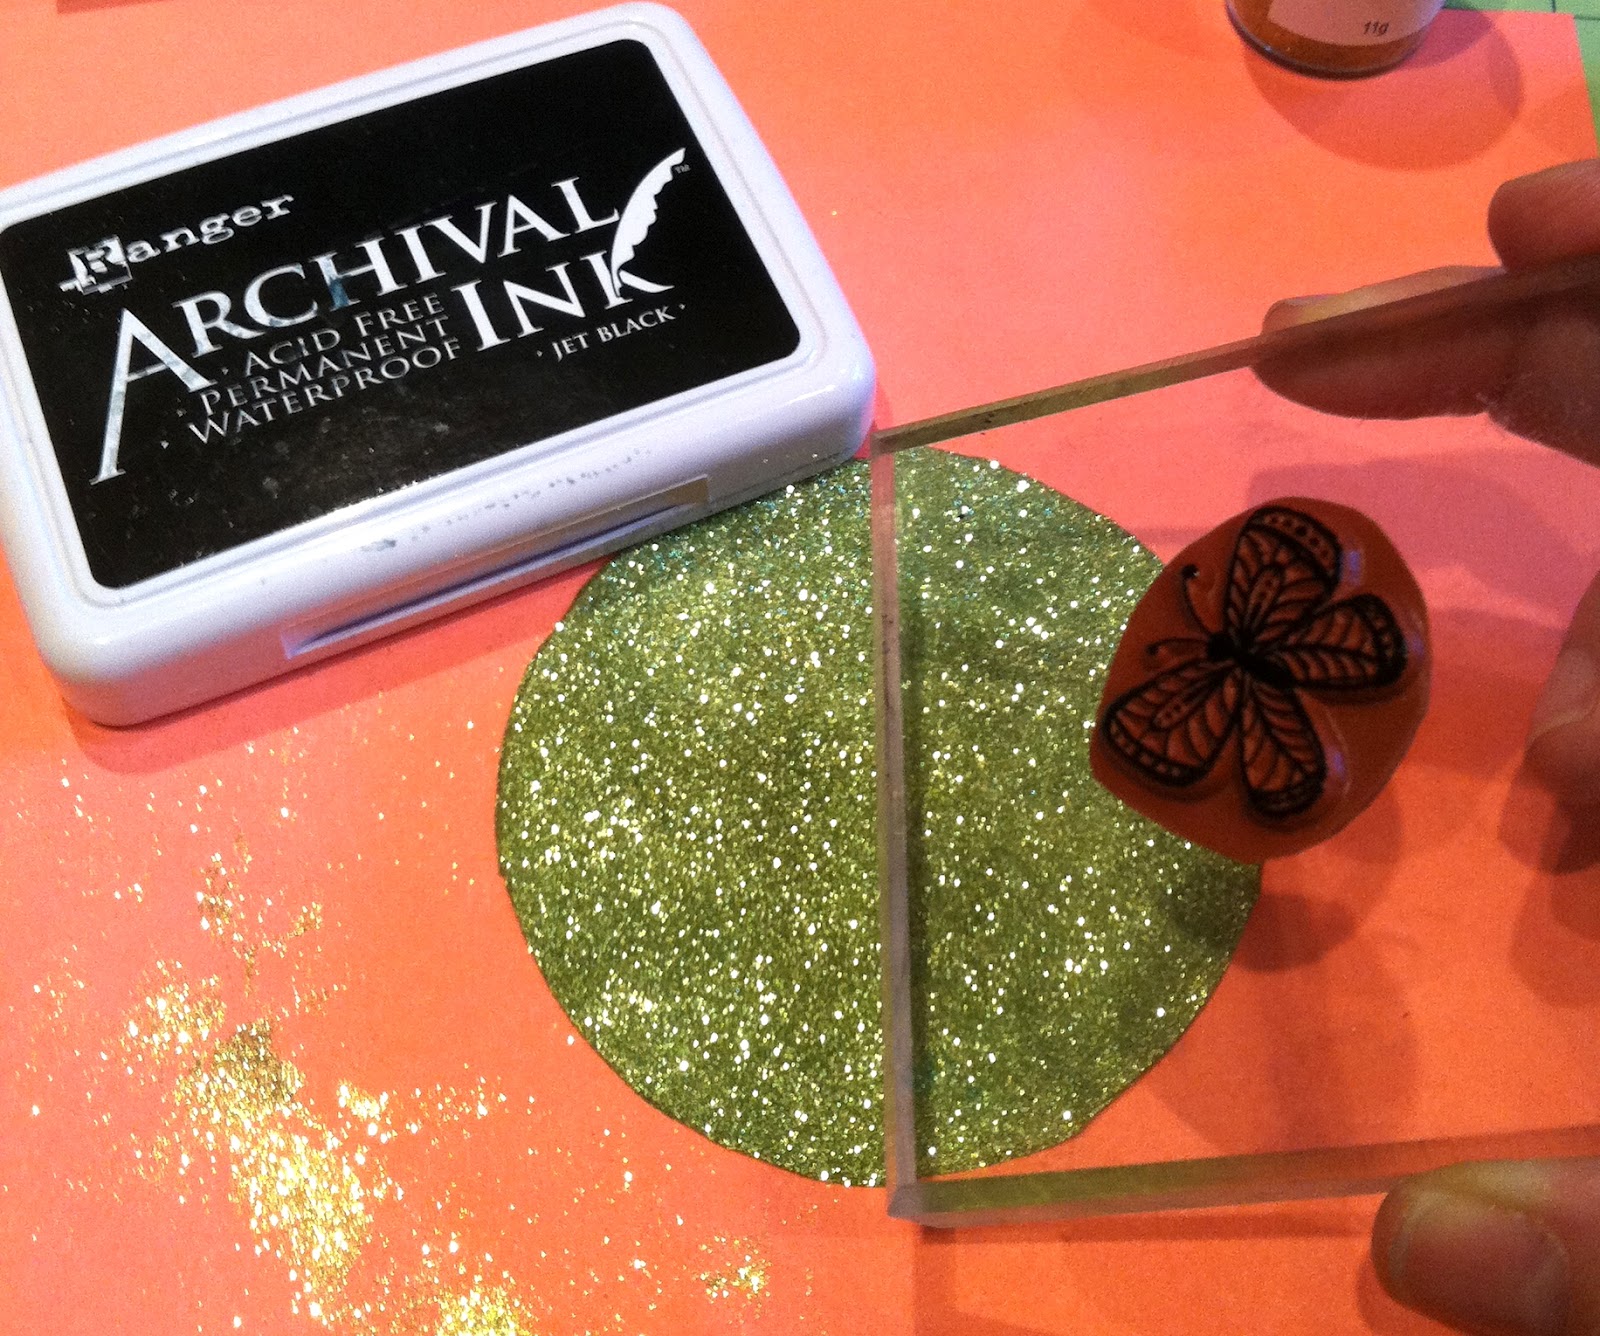 |
| Ink up your stamp with Archival ink if you are coloring the glitter. If you are careful you can try StazOn. (you just have to stay way from the lines if using Copic markers) |
 |
| I got a better impression when I stood up to stamp. |
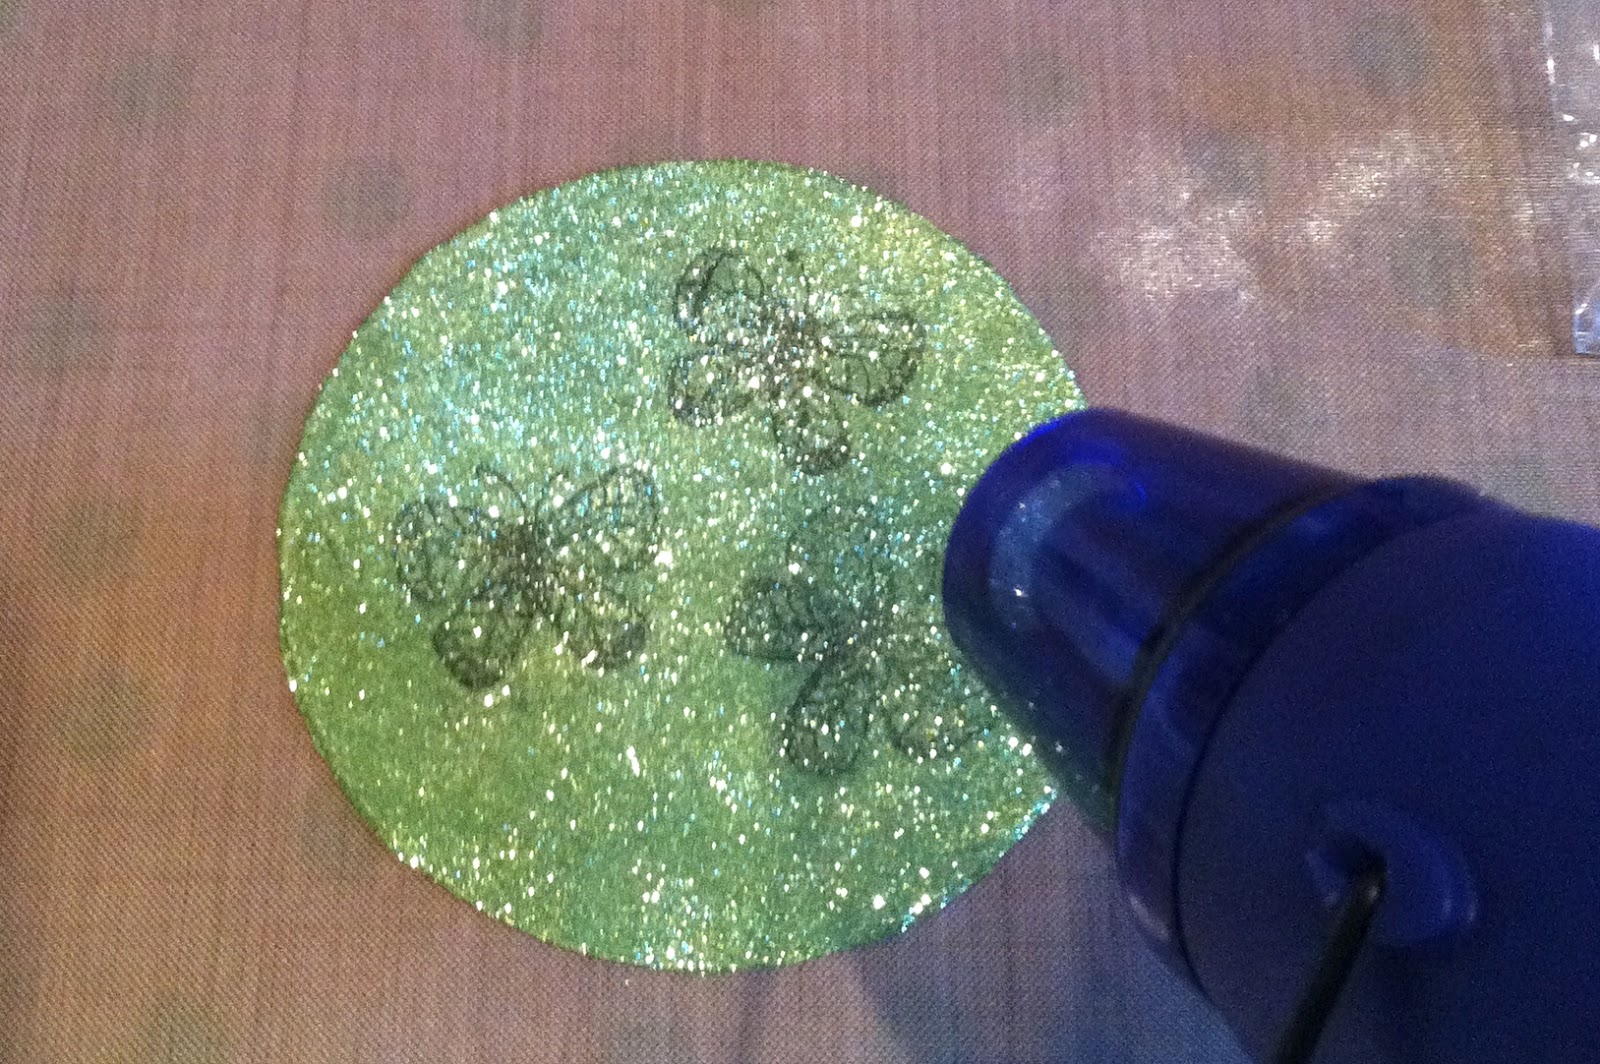 |
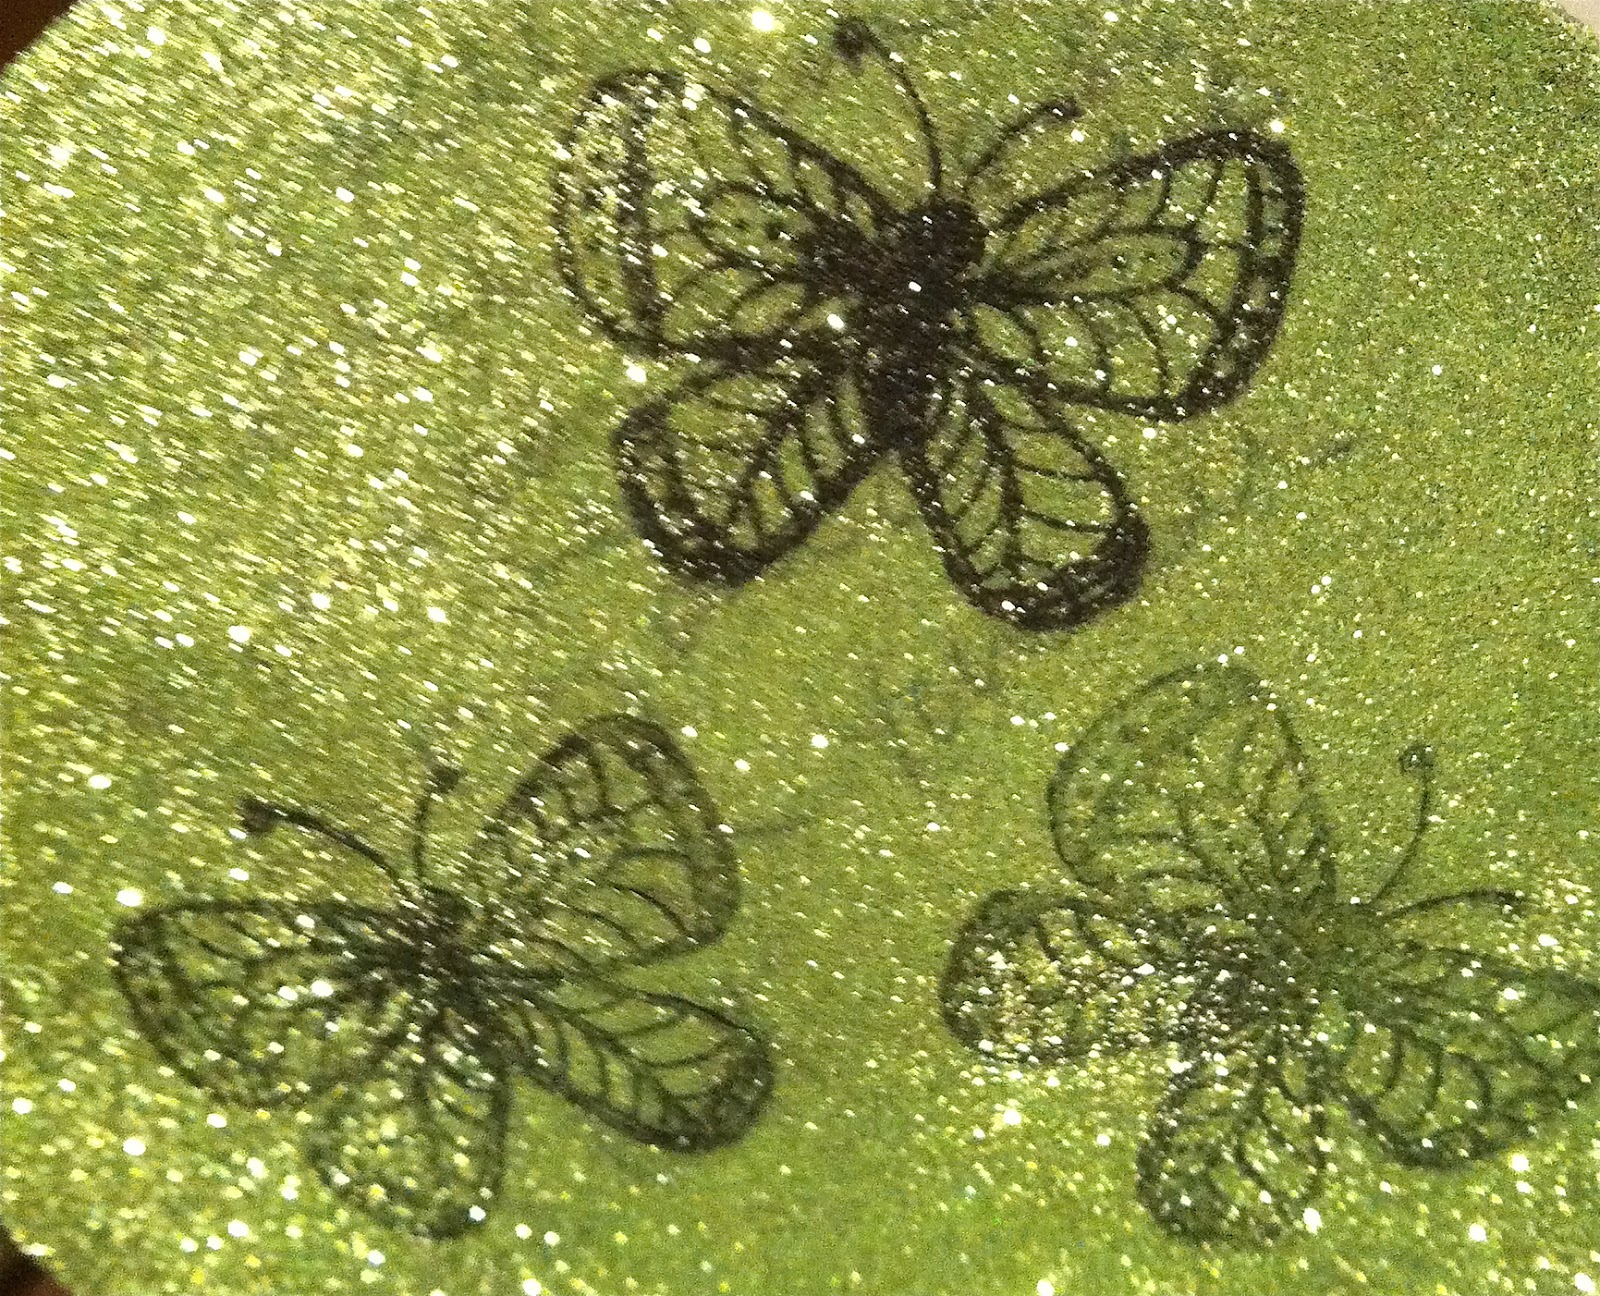
| You must use your heat gun to set the ink. |
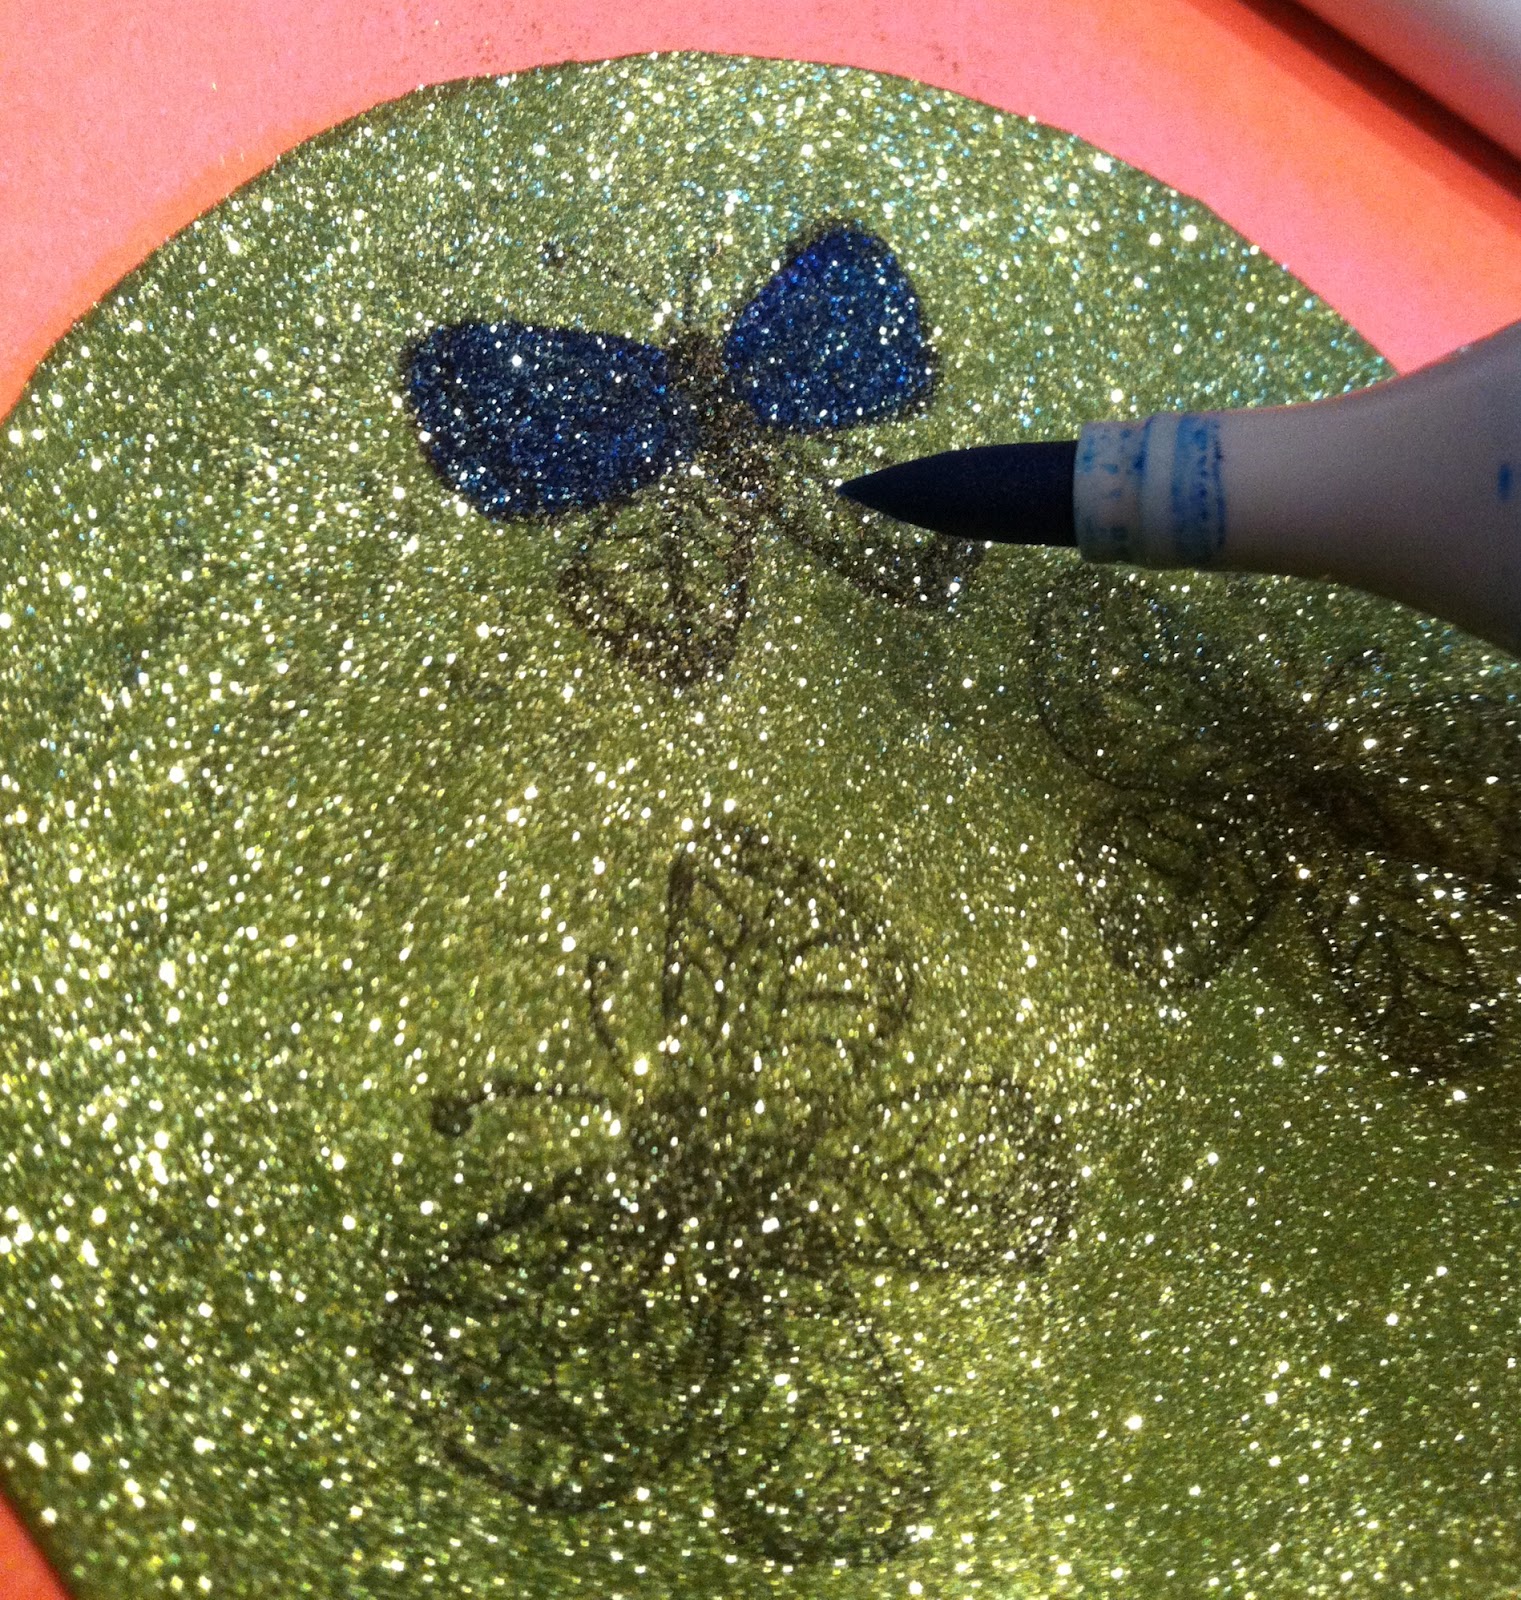 |
| Color with Copic markers or alcohol markers. When this glitter arrives I will show you more how to blend on the glitter. Basically you can use your blender pen to pull the color to shade on the glitter or just color without shading. This did not ruin the tips of my markers but, it’s always good to test depending on the pressure you might put on your markers. If you have any questions please email me. I will be back tomorrow with another card. Have a happy day. Hugs, Kathy I hope you will check out Absolutely Everything! |
CARD SUPPLIES:
|
|
|
|
|
|
|
|
|
|
 a shaped house card
 Day 13. Finishing Touches & Winners & Giveaway
 Curling Flowers


hiya sweetie
thanks for the look at your tutorial sweetie, it’s super how you’ve done it hunni
congrats to the winner and enjoy
hugs angelique
Thanks a lot for a real great tutorial here hun and congrats to the winner, please enjoy your cute stamp, when you get it hun.
Great tutorial, K! I was wondering about the Copic marker tips getting damaged from the glitter, but I guess if you don’t press hard, it’s okay? Will email you! Hugs! xx
super tutorial Kathy. Can’t wait to see you used white glitter. It will look stunning
Thank you so much for the tutorial…i love those butterfly….and congrats to merry …enjoy your stamps 🙂
Very cool. Thanks for the tutorial.
LOVE THIS!!!! Thank you Kathy! Guess what is in my shopping basket?! Glitter and double sided sticky tape!!!
I was totally intrigued when I saw your original post so thanks for putting my curiosity to rest with the tutorial. I shall have to get myself some Archival ink as I’m seeing it used more & more.
Paula (PEP)
How exciting….. huge grin. Thanks so much Kathy. Also thanks for the wonderful tutorial I will have to give that a try. I can imagine I will have glitter all over me for a whole day.
Congrats Merry! thank you for the tutorial certainly looks a fun technique, take careX:)