 |
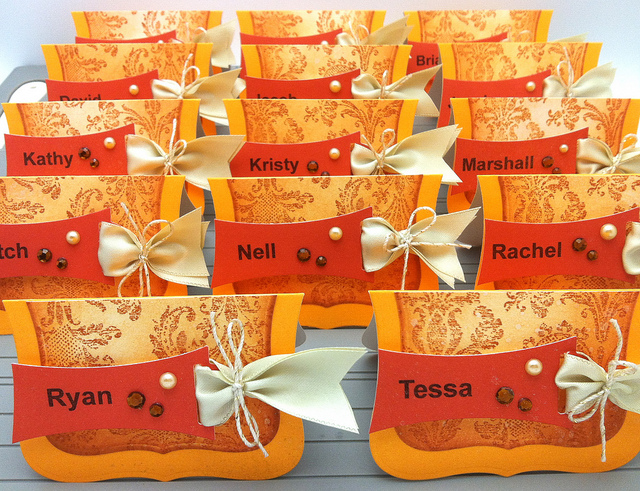
| Hello Friends, How are you this weekend?? Are you getting ready for Thanksgiving? I have been wanting to find a chunk of time to create some place cards for the Thanksgiving table & I finally found that time. Of course you can switch up the colors and use this design for any occasion 🙂 |
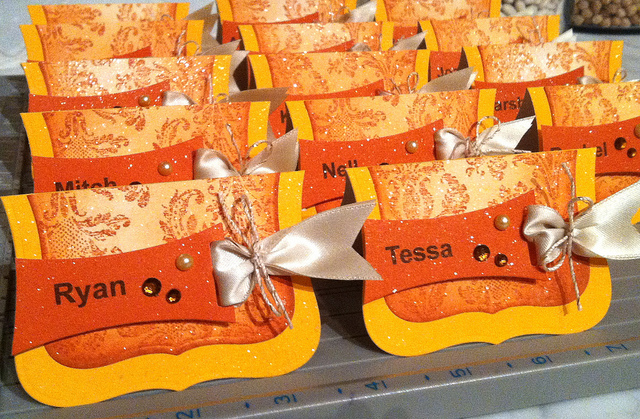 |
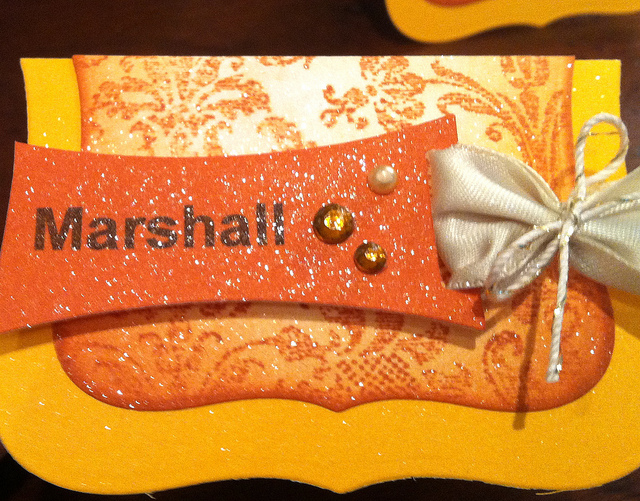
| I have to show you how they look with some mood lighting so you can see the pretty sparkle. |
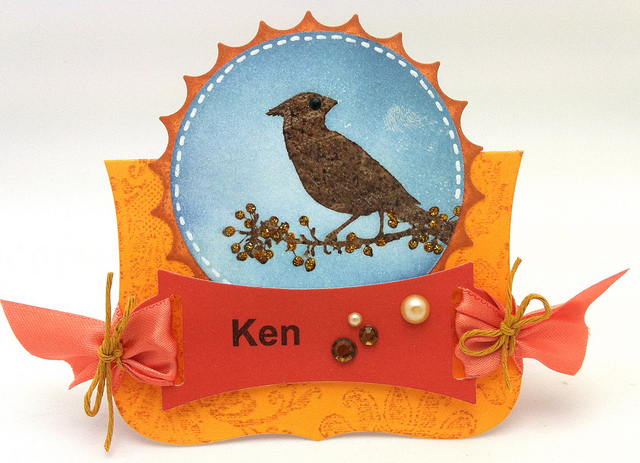 |
| This was the first one I created…my proto type and I wasn’t happy because it was a little to much stamping, to much ribbon etc… etc. |
 |
| This is the simplified version. What do you think?? I like the way the off center ribbon label looks. Just in case you are interested I have a tutorial for you & the supply list is at the bottom of my post. |
 |
| Type your names and run your colored paper through your printer allowing space to die cut each name. If I measured I could have print all the names on one sheet of paper. |
 |
| Die cut your names placing the label slightly off center on the die. Tape the die cut down with something like architectural dots. (I like them because I can use them over and over.) |
 |
| Thread your ribbon while it’s still on the spool and it will be easier to steady it while you gather the ribbon. Tie the ribbon with the embroidery floss into a bow. |
 |
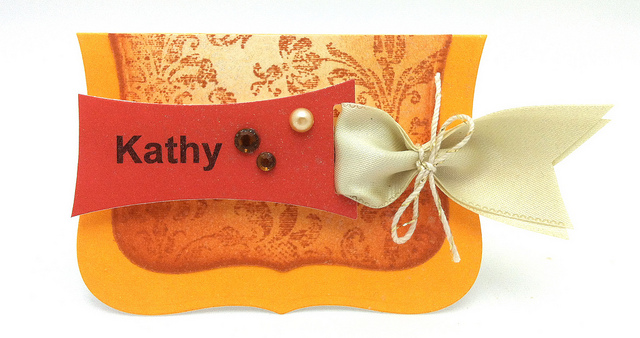
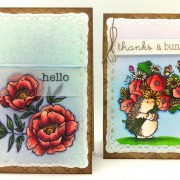
| I find it easier to work in batches. I will be trimming the left end of the “Ribbon Label”. Here is a card using the ribbon label. |
 |
| Using “Label’s Eight” die cut your card base and score it to fold in half. |
 |
| Die cut the next size that’s smaller, stamp and distress. (see supply list for stamps, inks etc.) |
 |
| Cut in half. |
 |
| Attach your distressed piece….I like to use Glossy Accents as my glue. |
 |
| Spray everything with shimmer spray. If you celebrate Thanksgiving good luck as you make your preparations and have a wonderful weekend. Thanks for taking the time to visit. Hugs, Kathy Did you see my giveaway on my last post here. |
SUPPLY LIST:
|
|
|
|
|
|
|
|
|
|
|
|
|
|
|
|
 stamptember
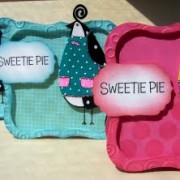 Hero Arts Sweetie Pie Cards
 A Blog Named Hero Blog Hop


These are AMAZING!!! I just love the grace they will no doubt add to your table. Thanks so much for showing us the details of how you made them!
Beautfiul project – these certainly have the wow factor to help your celebrations go with a swing! I definitely think your simplified version works better… just becuase it feels more balanced with fewer elements.
Thanks for sharing!
Rx
So beautiful Kathy! Your house guests are the luckiest folks 🙂
What a great way to use Spellbinders – elegant style. The ribbon is gorgeous too, what kind is it?
Hugs!
Heidi
I love them so much!It looks so easy when you do it, Kathy. Thanks for tutorial!
Suzana
These look so festive! Love the color combination.
Love these, Kathy! Have a wonderful holiday!
Awesome….u R….love these Kathy! Xoxo
Simply beautiful Kathy. I would love to see how beautiful the rest of your house will be for this special occasion.
These are just beautiful. I hope I have time to get something like this made.
These are fabulous, Kathy! I love the layers and pretty shimmer! I bookmarked this page so I can use this design for my place cards next year, when my family comes for Easter! Thanks for always being so inspiring to me! Hope you have a wonderful Thanksgiving! Hugs! 🙂
Great tutorial Kathy. Thank you very much. I prefer your simpler version as well, they are gorgeous.
Smiles:)
What beautiful place cards…. they will certainly grace any table. I can just see the glimmer shining through. Hope the Thanksgiving dinner is great and you have a wonderful family time.
These are so pretty- love all the shine! I hope you have a wonderful Thanksgiving with your loved ones!
Very cool. Love them.
I’d like to be invited to your thanksgiving table, IF i get this such a pretty place card, kathy!! lol 🙂 The colors are perfect, and the shimmer mist makes a special finish to these!
Love them Mandy, your table will look fab
Anne x
Fab little name cards, love the colours
Lindsay xx
My granddaughter would say “they are be-eu-ti-ful”. I’m going to stop and make them for her for our Christmas right now. Thanks for the inspiration.
These look absolutely amazing, love them Kathy! I remember how huge your Thanksgiving get-togethers are! Hope this year is just as blessed!
WOW!! These are absolutely amazing and stunning Kathy! I can’t believe how many you had to do! 🙂
These are fab. Thanks for the tutorial on how to make them. 🙂
Wow, those place cards look amazing! I love the bows and the glitter. Hugs, Hanneke
The asymmetrical name label is superbly effective & I love the way you have managed to combine so much texture in this “not so little project” – I have to agree that your final version is my favourite too. I also work in batches with things like this, it’s a very efficient way of production as measuring & chaning about is kept to a minimum & thus errors minimised. Hope you’ve had a super Thanksgiving weekend.
Paula (PEP)
I was really searching for such a nice post and got here…Thanks for sharing such a nice information, its beneficial for me…Keep sharing more.
spellbinders