Hello, hello friends! …. it’s day Two of my vellum tips! I hope you are enjoying the posts at PB and that you are excited to see what day two has in store for you.
Here is my tutorial for etching on vellum from my sneak peek post yesterday.
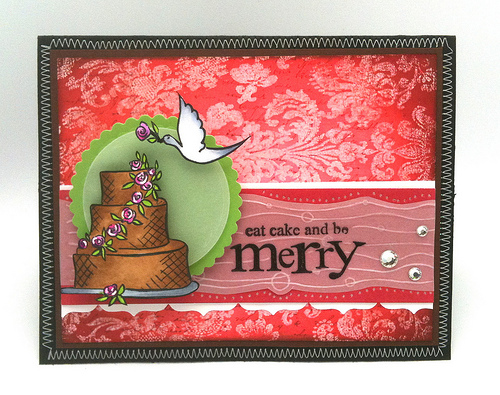
I designed my card base or rather the background when I was experimenting around with the new stamps so it was nice to already have this as a starting point. I stamped the letter background on some white card stock with Versa Mark and embossed with clear embossing powder. Use your distressing tool to add color to the paper with Barn Door . Add some Walnut distress ink and proceeded to distress the corners and edges pulling some of the color into the middle.
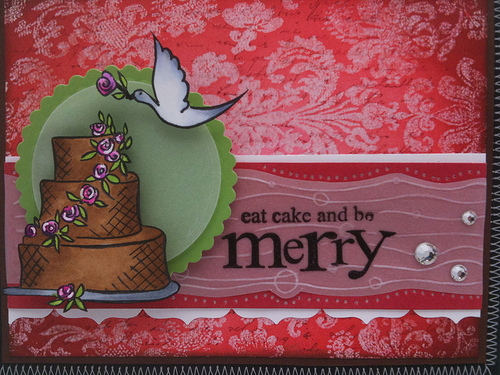
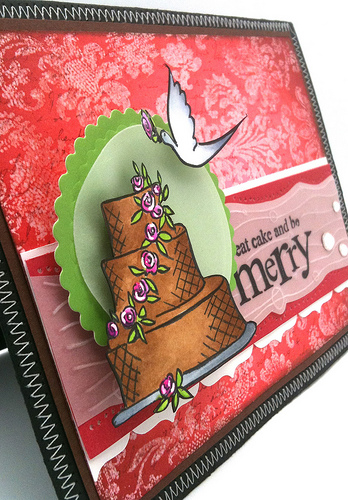
Stamp your cake with Memento Ink, color and cut out. Unfortunately, I had to cut two tiers off of the cake for this particular card design.
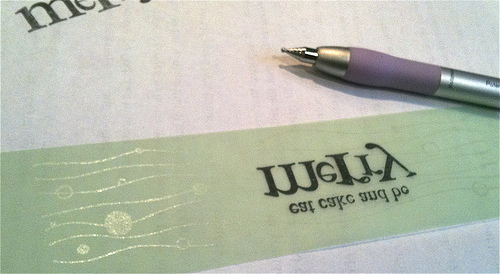
Stamp your sentiment on your vellum very carefully and steadily. I used Staz on Black Ink and I heard that you can use regular ink if you heat set it very carefully.
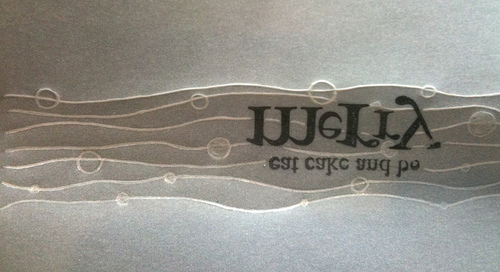
The next step is to check to make sure your sentiment is dry then flip the vellum OVER & stamp with Versa Mark your with your “background”stamp. Take your embossing tool or stylus to trace over the lines that you stamped pressing into the vellum.
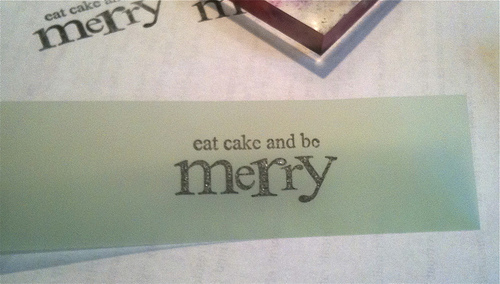
I didn’t like the end result of the green so I switched over to the translucent vellum. I like the etched lines in white. The green wasn’t that noticeable.
|
|
|
|
|
|
|
|
|
|
|
|
|
|
|
|
Thanks for taking the time to go to the Penny Black Blog today!! I am so grateful … thank YOU!
 tim holtz stamps
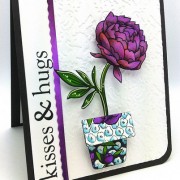 Hero Arts Hostesses Blog Hop
 Giveaway – July’s Card Kit


thanks for the tutpral and what a lovely card you made!
Thanks for this tutorial 🙂 love it
hugs
yenni
cool tutorial thanks Kathy and I really like today’s card over at PB.
Fab tutorial it looks so easy. Thankyou.
Thanks for this grate tutorial. I can’t wait to see the one on parchment paper.
what a cool tutorial! Thanks for sharing!
thanks a lot for the tuto!!!
Thanks for the tutorial. I’ll keep this idea in mind.
Marie-Anne
Thanks for answering my question about which side to stamp the VersaMark. I’d sat playing around with it last night & comparing your stamped & etched image with the stamp in the online catalogue to see which way round…… mystery solved!
Paula (PEP)
Thanks for the tutorial Kathy! Loving your vellum ideas already – can’t wait for more!
Great tutorial, Kathy! Love the peek for today. . .I’m heading over to the PB blog soon to see your fab work for today. Hugs!
I luv the blue you used, Kathy, for the accent! Very Pretty! Thanks for the head up for using the parchment paper. Since i bake often, i always have that on hand 🙂 Mine is white/cloudy but i think i can use that for some project.. we’ll see… oh,thanks for the tutorials! 🙂
You did it again, Kathy! Way to go!
Love the look of Vellum strip with embossing and the circle behind the cake Kathy.
Great tutorial. I’ve always been intimidated by vellum. And today’s idea with the parchment paper makes it look easy enough for even a novice like me! (And cheaper if you mess up!)LOL! Thanks!
Thanks for the tutorial….I love doing pergamano….great job!
Great tutorial, Kathy! Love doing pergamano a lot!!!
hiya sweetie
your card is so adorable hunni
thank you for the tutorial sweetie
i’ve so much vellum and never did anything with it, so this is a great idea, thanks hun
i can’t wait to see what the tut for tomorrow is
hugs angelique
Awesome projects this week Kathy….thanks for all your great tutorials 🙂
Jenny xx
Wow!! thanks for tutorials.this is great!i learn alot 🙂
thanks , kathy
cathy
Great technique. I haven’t heard of it before, thanks for sharing.
Thanks for the tutorial, great technique.